Overview
-
The Creating a Jancy Google Cloud Workspace Project section walks you through creating a Google Cloud project that has the Gmail API and Google Spreadsheet API enabled and will give desktop software (e.g. the Jancy browser) access to read the emails and spreadsheets of one or more of your Google Workspace accounts.
-
The Giving Jancy Permission to Access Your Google Workspace Account section walks you through how you link the an account of Google Workspace you created in the first section to Jancy running on your machine. Once this is done, Jancy will have access to read the emails and the spreadsheets the account.
-
The Pulling Emailcodes from the Google Workspace Account section explains how you could use the built-in Gmail emailcode resolver on a profile in Site:Ticketmaster column in conjunction with the Google Workspace Account you made in the previous section.
-
The Reading Profiles from a Google Spreadsheet Associated with a Google Workspace Account section explains how you could use the built-in Google sheet profile provider to read profiles from a Google spreadsheet.
-
The Retroactively Adding the Google Spreadsheet API to Your Jancy Google Cloud Workspace Project section explains how you can add the Google Sheets API to an already existing Google Cloud Workspace Project.
Creating a Jancy Google Cloud Workspace Project
Prerequisites
The following instructions assume you have a Google Workspace account. If you just have a regular Google account they won’t work unfortunately.
A Google Workspace account can be acquired here https://workspace.google.com/pricing.html. All you need is the Business Starter plan.
When setting up your Google Workspace account, it’s necessary to have both a custom domain and a paid google workspace plan. The steps explained below cannot be completed with a free account or without a custom domain.
Steps
In order for Jancy to access resources (e.g. Gmail accounts) managed by your Google workspace you first need to create a Google cloud project that the browser can authenticate against.
-
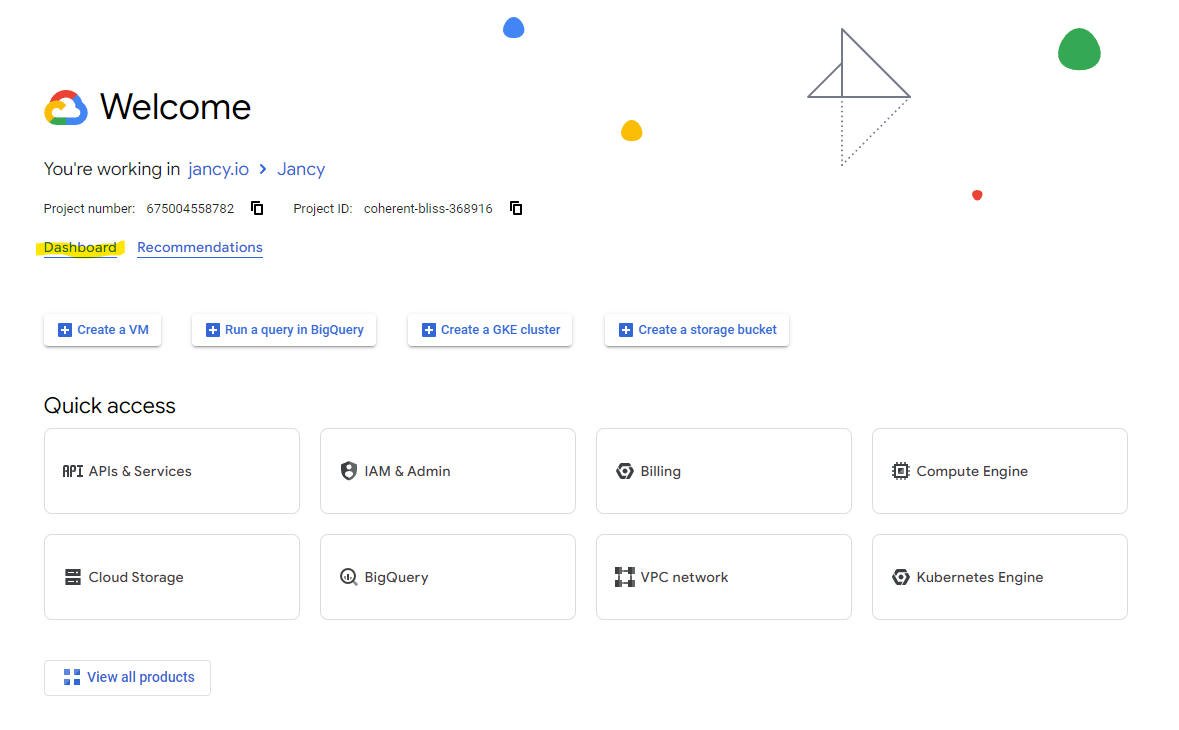
Go to your Google Cloud Console in your regular browser (not Jancy) by going here https://console.cloud.google.com/welcome
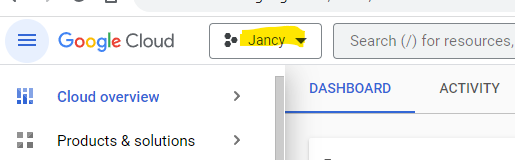
- If you’re logged into more than one Google account, make sure your Workspace account is selected in the Google Cloud Console.
- First we need to create a new project
- Select the Create Project option under the IAM & Admin submenu (
Hamburger Menu → IAM & Admin → Create Project)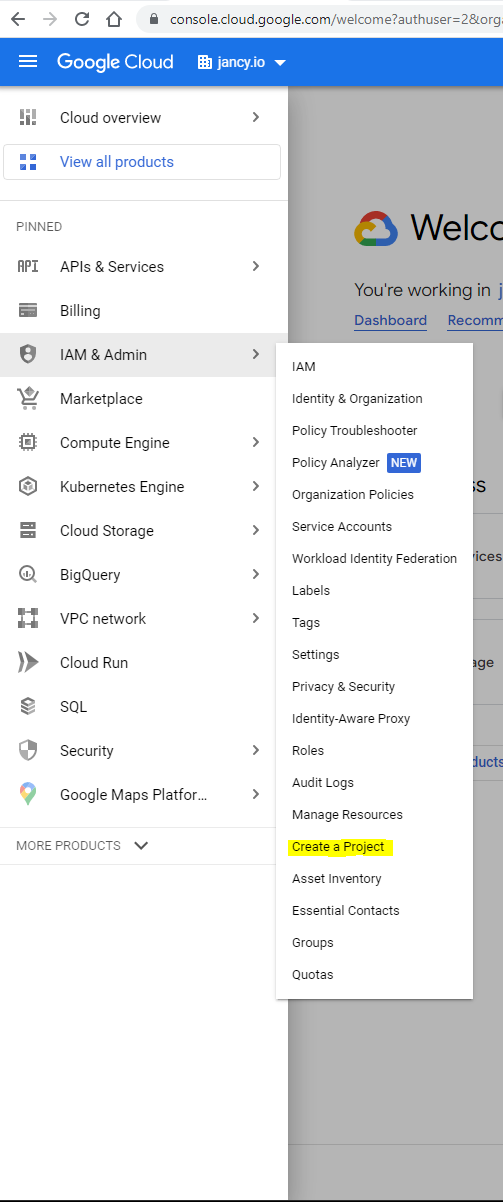
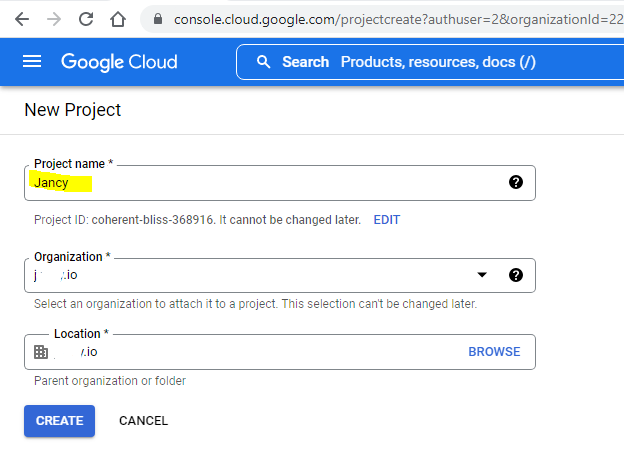
- Give the project a name and press the Create button. I suggest the project name Jancy because that’s what I use through out the rest of the instructions. You can leave the Organization and Location fields as they are unless you know what you’re doing.
- Select the Create Project option under the IAM & Admin submenu (
- The Jancy project you just created should be selected in the menu at the top

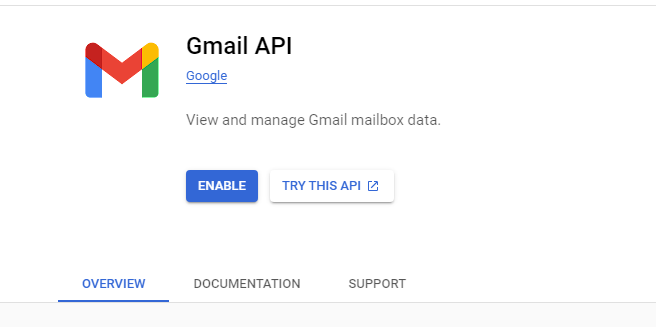
- Add the Gmail API to the Jancy project.
- Go to the APIs & services Library (
Hamburger Menu → APIs & services → Library)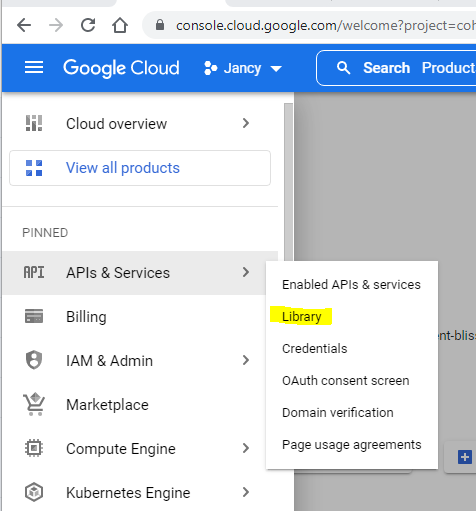
- Find and click the Gmail API square
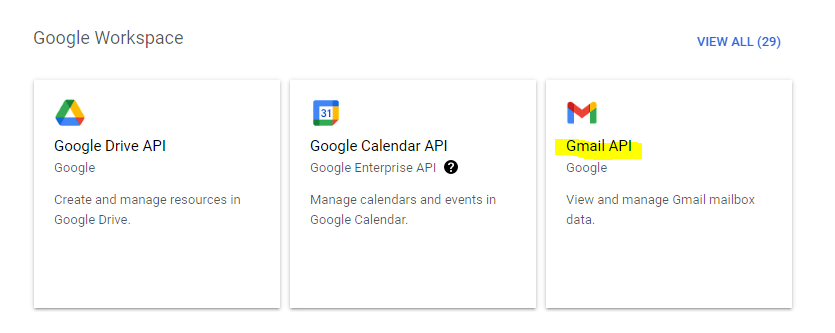
- Enable the API by clicking the Enable button
- Go to the APIs & services Library (
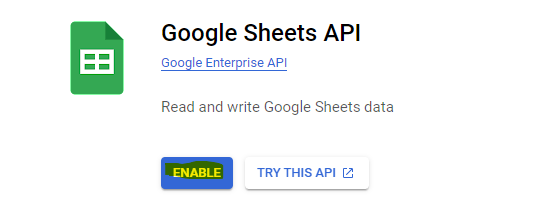
- Add the Google sheet API to the Jancy project.
- Go to the APIs & services Library (
Hamburger Menu → APIs & services → Library) - Find and click the Google Sheets API square
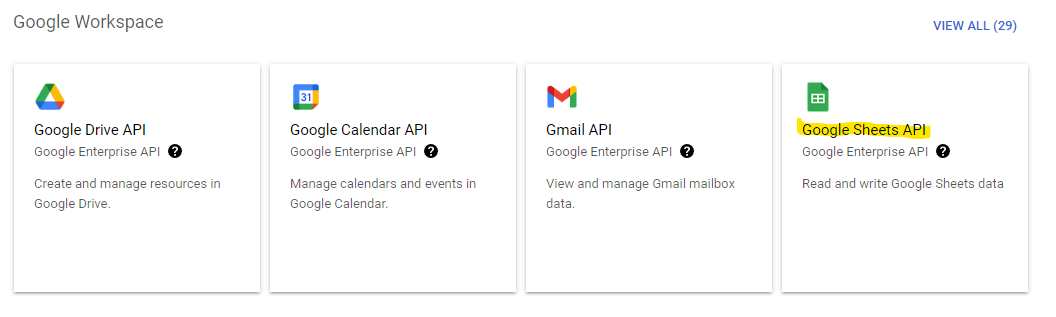
- Enable the API by clicking the Enable button
- Go to the APIs & services Library (
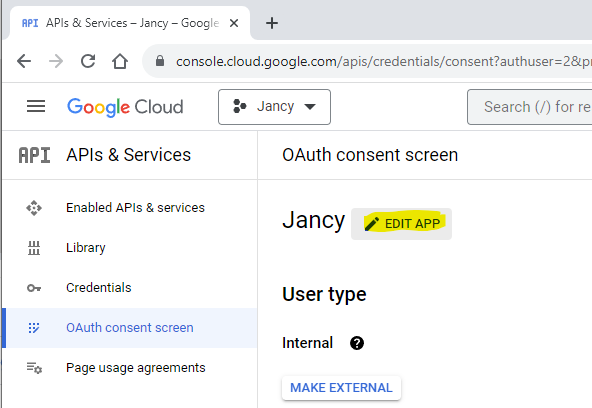
- Configure your OAuth consent screen for the Jancy project
- Go to the APIs & services OAuth consent screen (
Hamburger Menu → APIs & services → OAuth consent screen)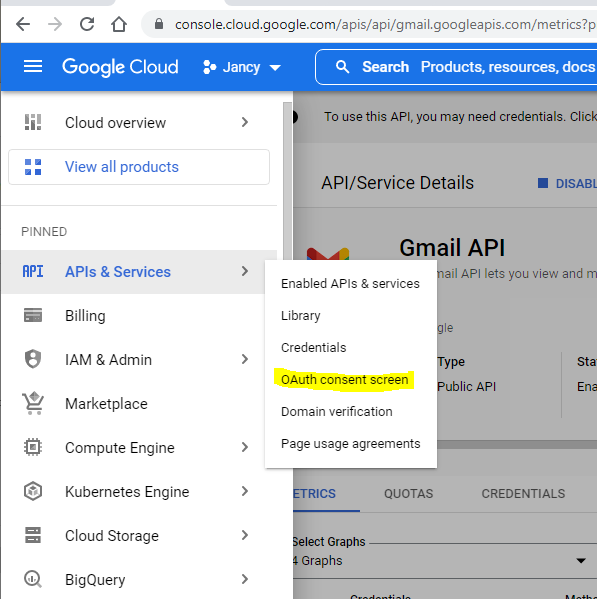
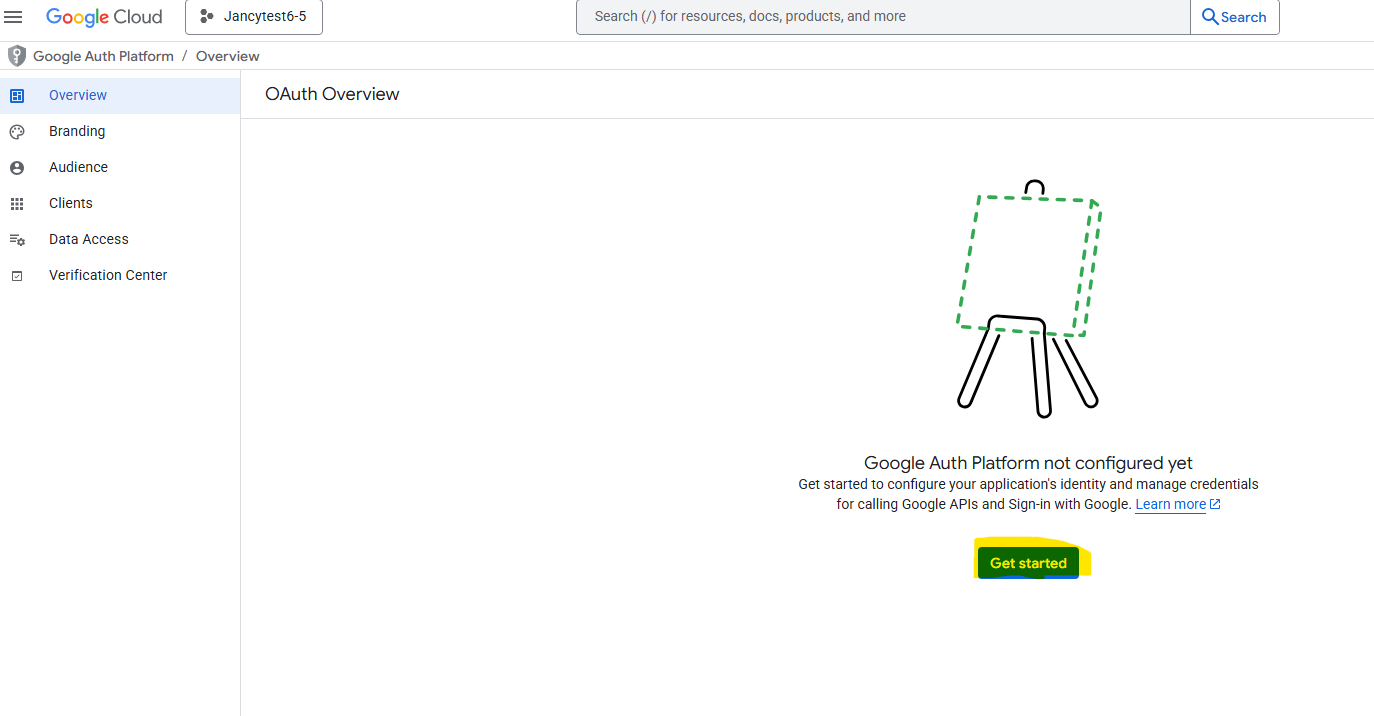
- Select “Get started”
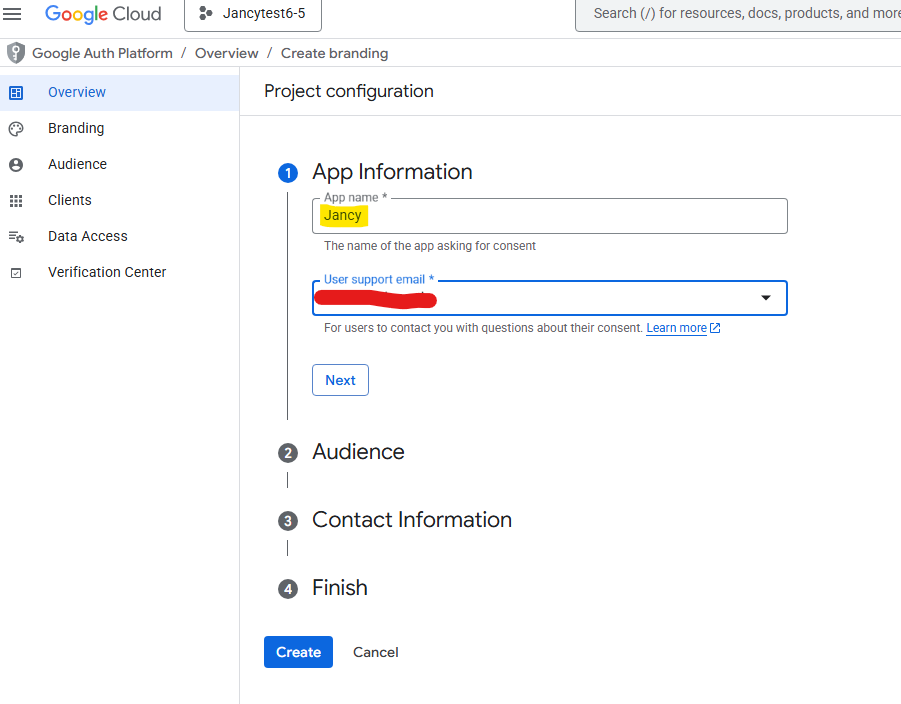
- Now we update our App information
- Type Jancy for the App name and select an email address from the User support email drop down
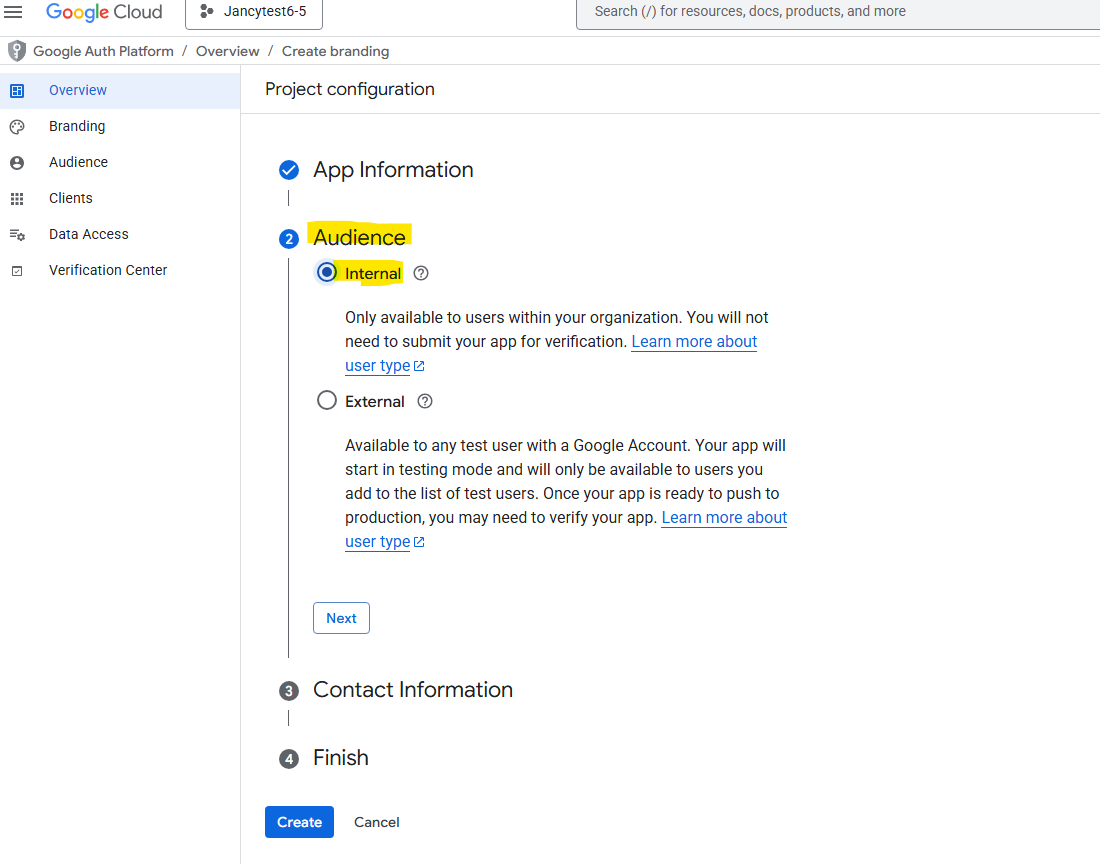
- Select the Internal User Type
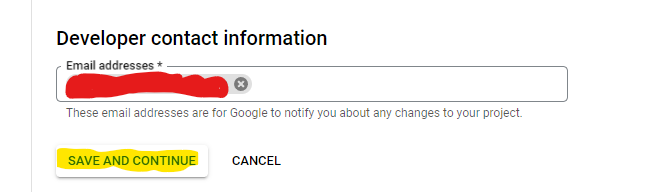
- Enter your email address in the contact Information section
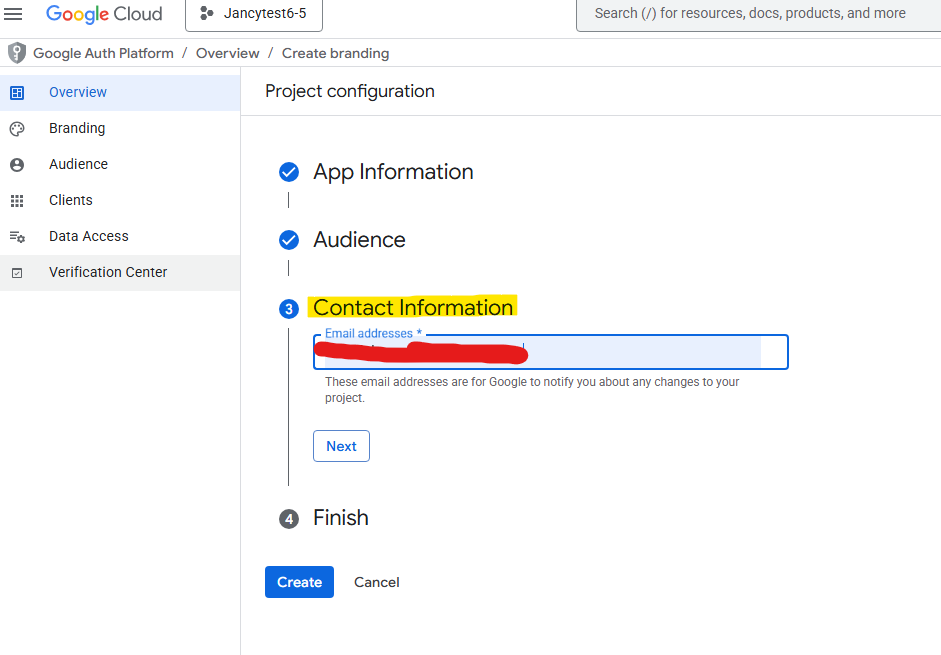
- Agree to the conditions, click continue, then click create
- Type Jancy for the App name and select an email address from the User support email drop down
- Go to the APIs & services OAuth consent screen (
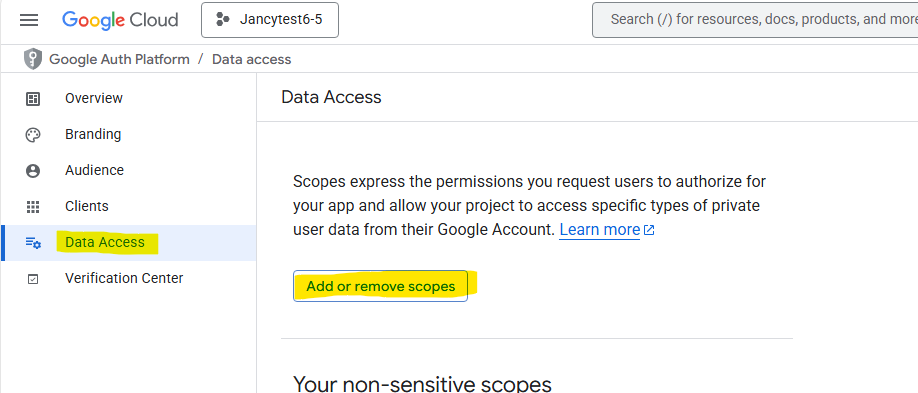
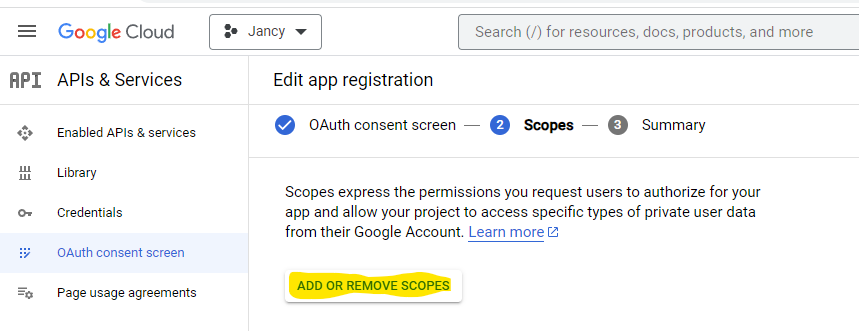
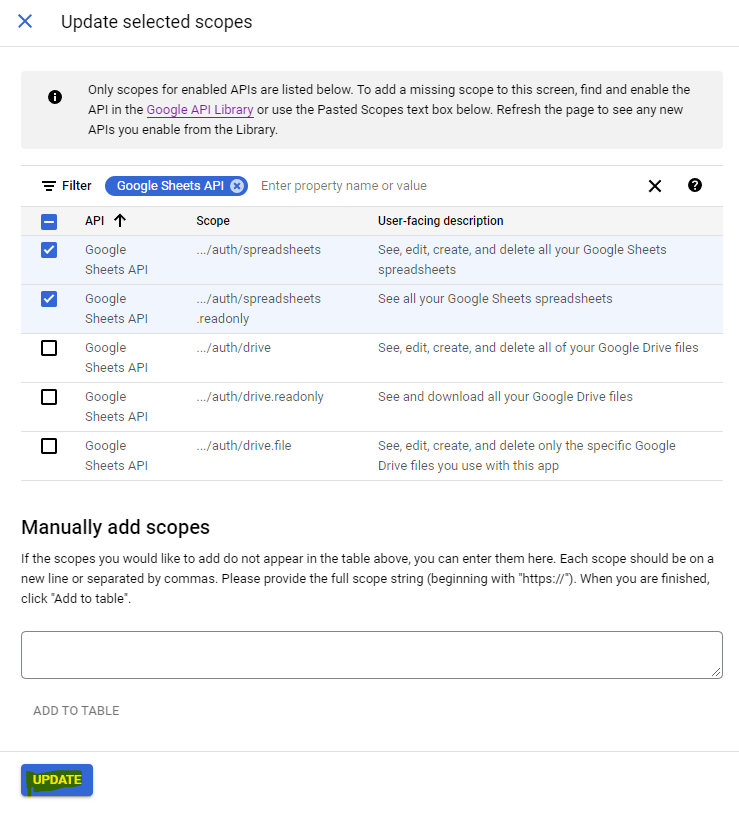
- Now we have to add Scopes to our Jancy project
- Click the Add or Remove Scopes button on the “Data Access” page
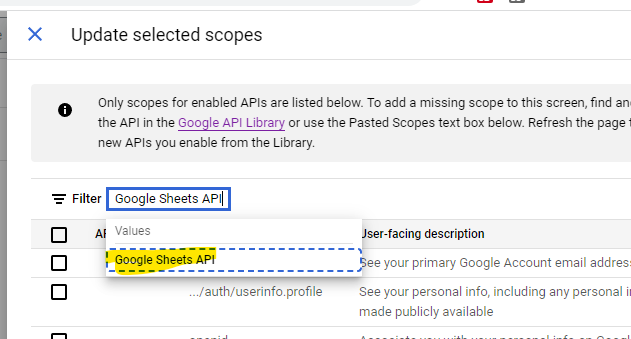
- Find and check the Gmail API read only scope

- Find and check the Google Sheets API scope and Google Sheets API read only scope
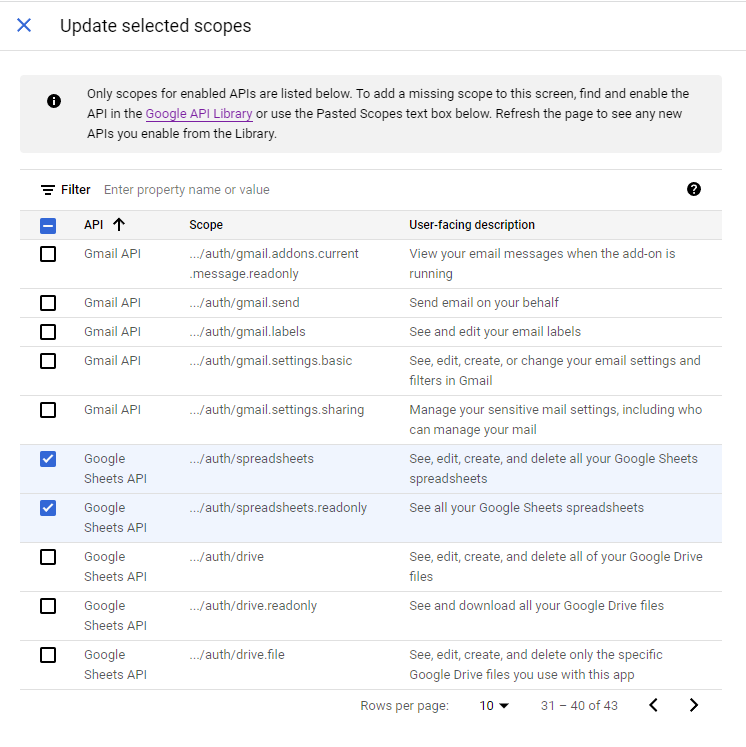
- Press the Update button at the bottom
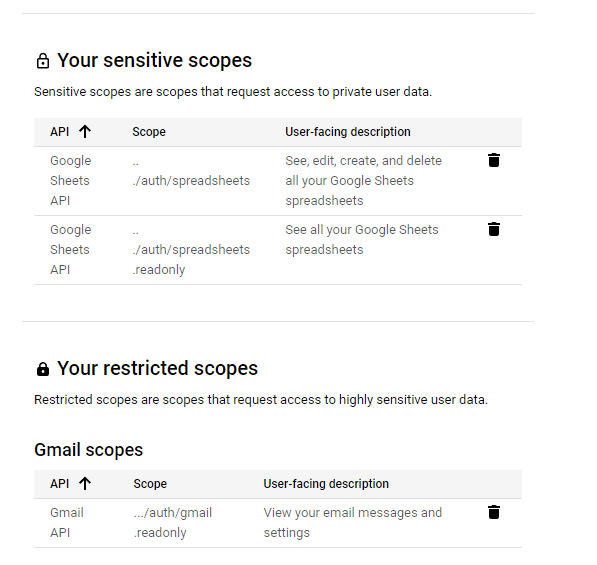
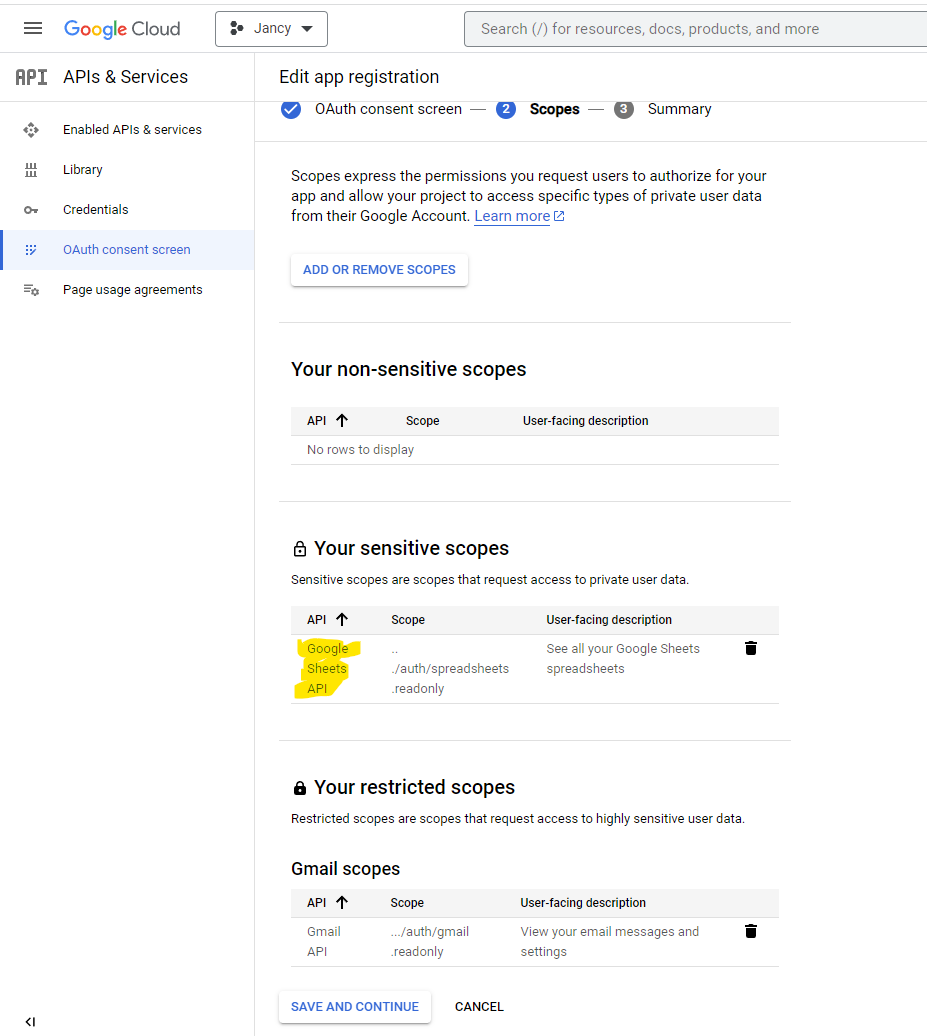
- You should see the Gmail read only scope in the Restricted scopes section and the Google sheet read only scope in the Sensitive Scopes
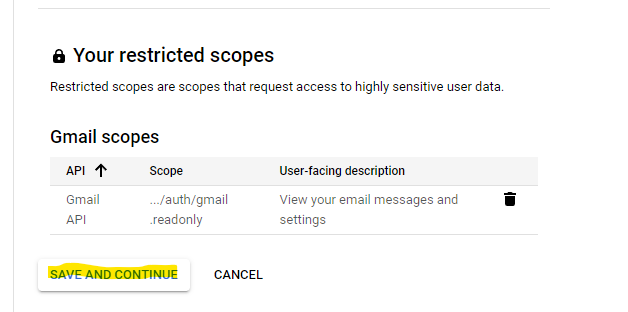
- Press Save and Continue
- Click the Add or Remove Scopes button on the “Data Access” page
- You should now be at the Oauth consent screen summary for the Jancy project. Press Back to Dashboard.

- Now we have to make OAuth credentials for the Jancy browser to use so you can grant it access to an email account managed by your Google workspace.
- Select Credentials from the APIs and services submenu (
Hamburger Menu → APIs and services → Credentials)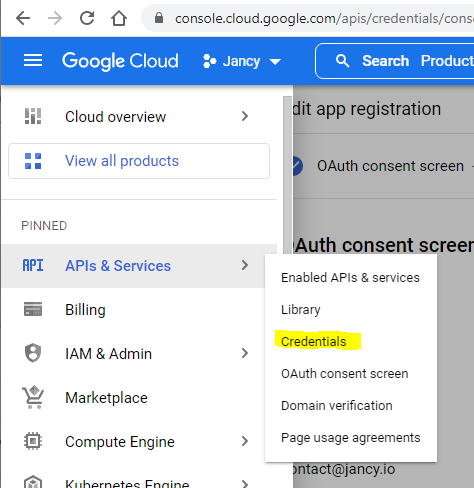
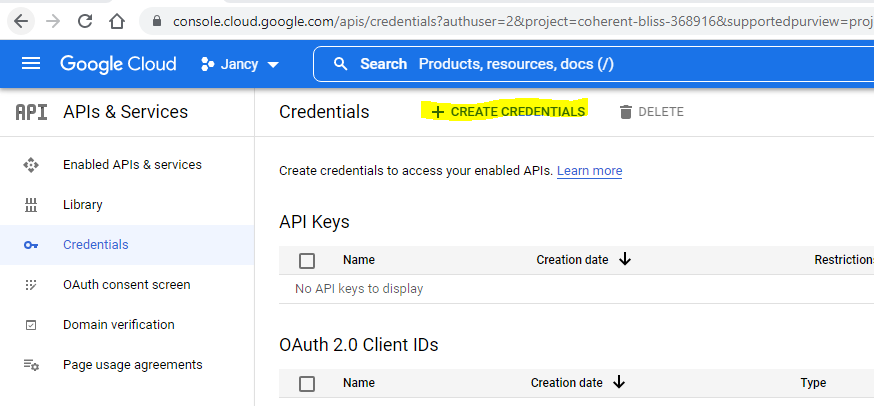
- Select Create Credentials at the top.
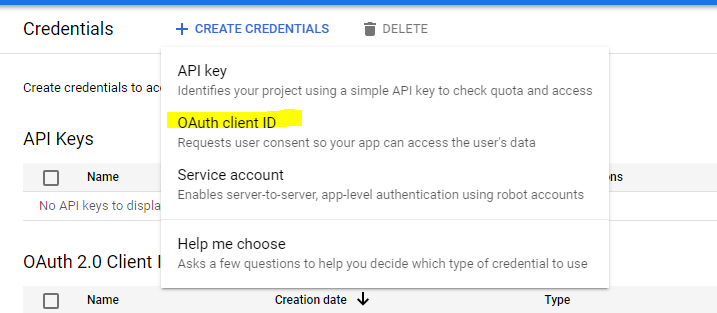
- Select OAuth client ID from the dropdown
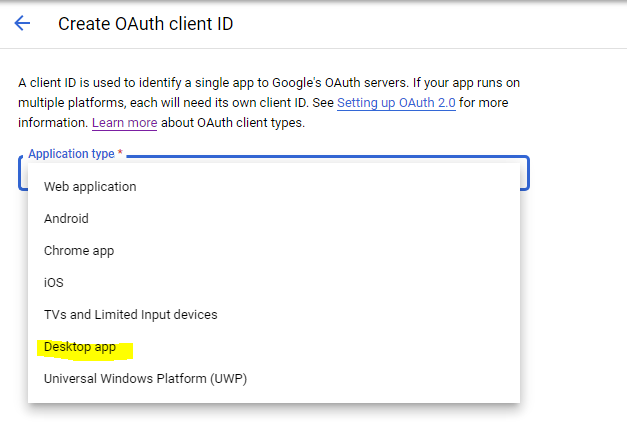
- Select Desktop app from the Application type dropdown
- Name it Jancy Browser
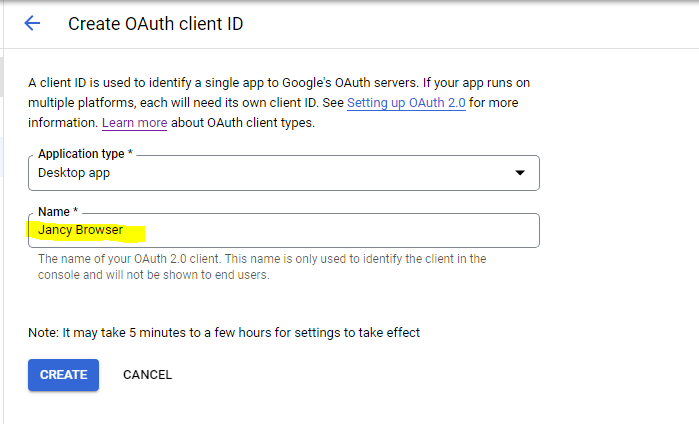
- Press the Create button
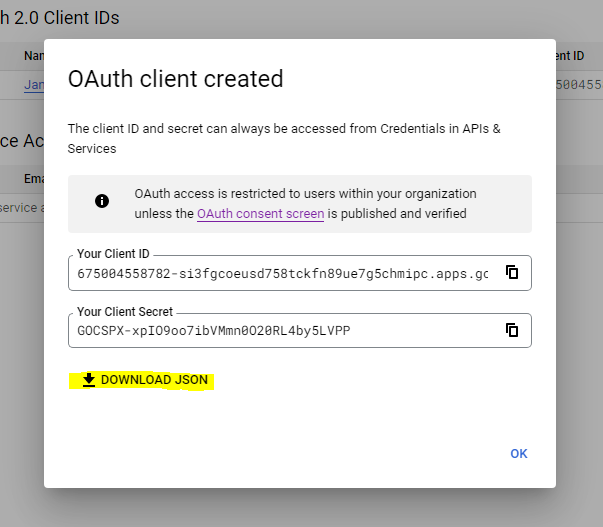
- In the popup window that appears, click the Download JSON button and then Press the ok button to close the window. Make a note of the name of the file and where it was downloaded to on your computer. You’ll need it later.
- Select Credentials from the APIs and services submenu (
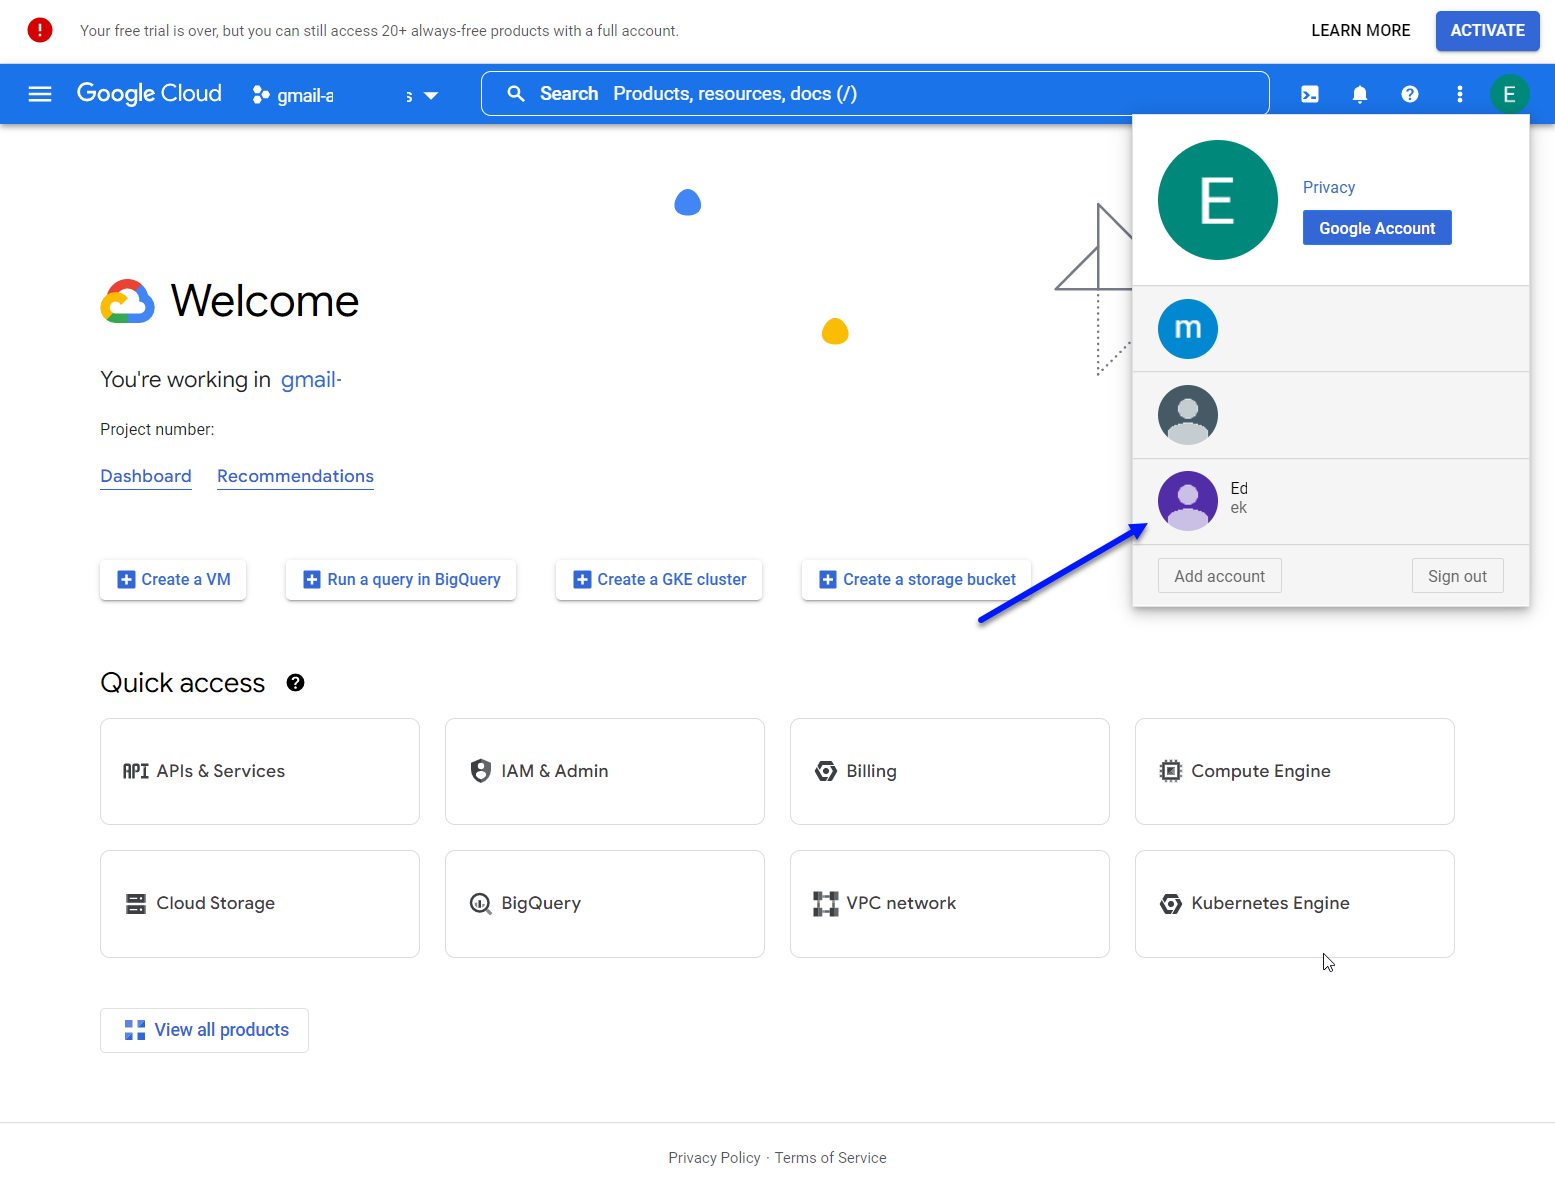
Giving Jancy Permission to Access Your Google Workspace Account
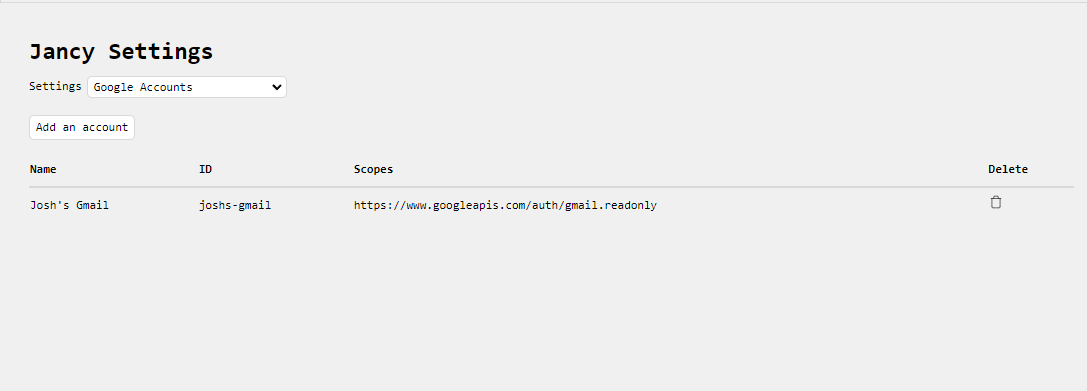
- Go to the Google Accounts settings panel in Jancy (
File → Settings → Google Accounts) - Click the Add Account button
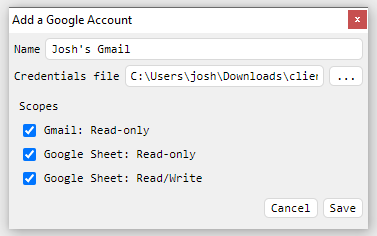
- In the Add Google Account dialog
- Give your account a name that makes it easy to recognize what the account is accessing.
- Click the ellipses button next to the Credentials file field and in Open dialog select the file you downloaded from the step 9g in the previous section.
- Select the
Gmail: Read-onlyscope to give Jancy permission to read emails belonging to your Google Workspace Account. - Select the
Google Sheet: Read-onlyscope to give Jancy permission to read the contents of Google sheets belonging to your Google Workspace Account. - Select the
Google Sheet: Read/Writescope to give Jancy permission to read and write to a Google Sheet belonging to your Google Workspace Account. - Click Save
- You’ll be presented with a window asking you to choose a Google account that you want to give Jancy access to. Select or add your Google Workspace Account.
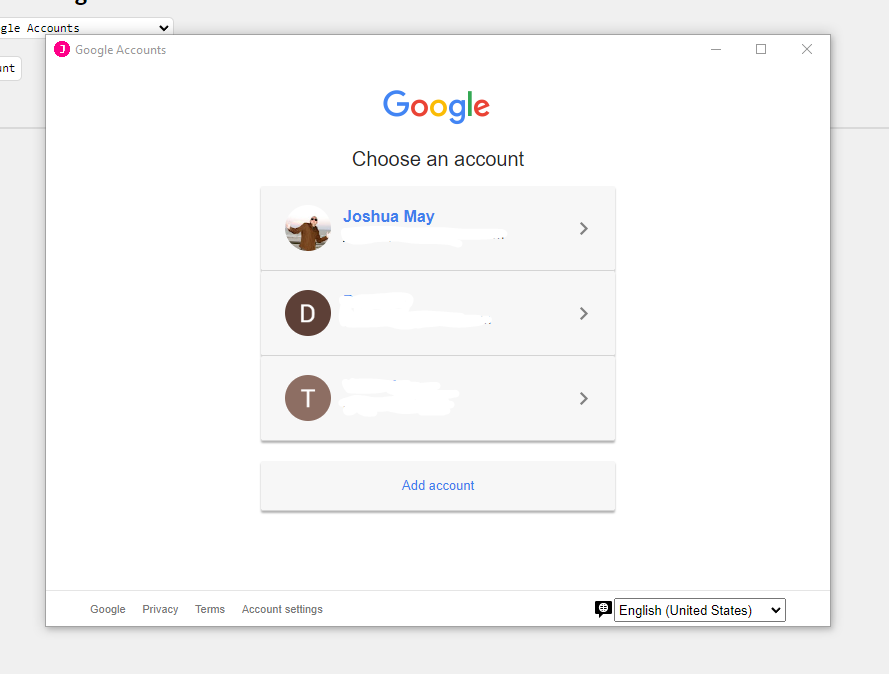
- Confirm that you want to allow the Jancy Google Workspace Project you created in the first section access to the account you selected in the previous step.
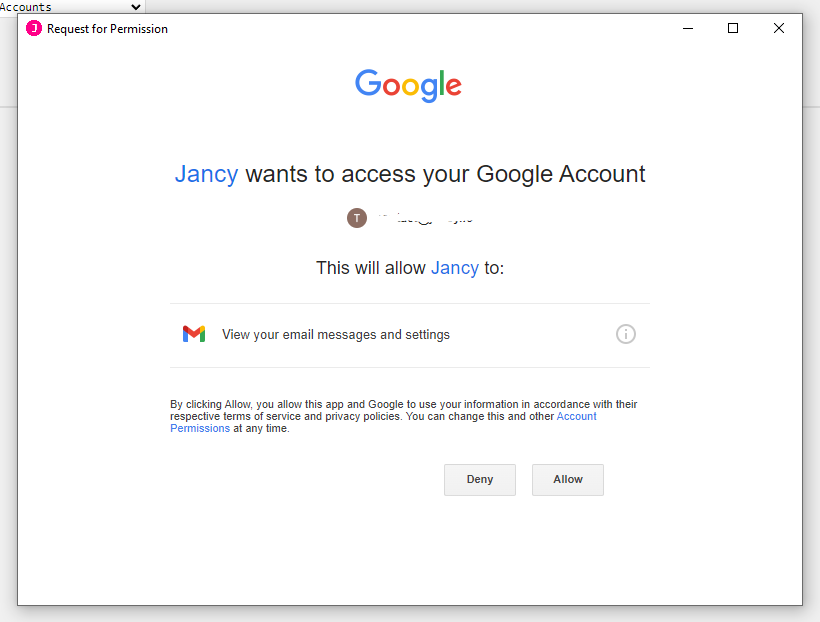
- If everything worked you should see the Google Account you just added in the list.
Pulling Emailcodes from the Google Workspace Account
If you are looking to use your Google workspace account as a catchall for the emails in your profile CSV, this section will cover how to add this into your profile CSV.
- First, you will need to follow all of the steps above on how to set up your Google Workspace Account
- Second, you will need to make sure you selected the
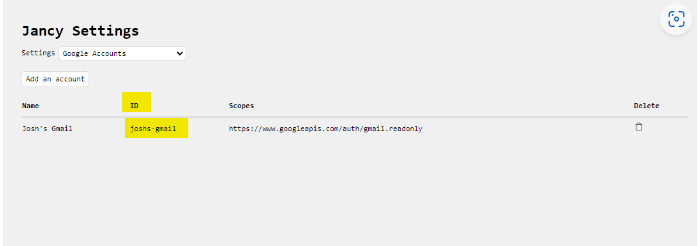
Gmail: Read-onlyscope when adding your Google Workspace Account to Jancy - Third, make sure you have the correct Google workspace ID that you made while setting up the account. The screenshot below will show where to find this.
- You will now need to add your resolver under your Site collumn in your profile CSV

- For this example I will use the most basic resolver that pulls email codes for ticket master accounts.
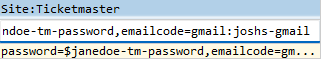
You will need to add this resolver to all the profiles from which you want to pull emails. After following these steps, you will be able to populate email codes for your Jancy profiles. To do this, click the refresh button next to the email code box in the tab panel while on the specific site.
Remember, resolvers are site-specific, so you will need to be on the specific site for Jancy to pull the email codes. Also, depending on your setup and what you are trying to accomplish, the resolver may be different from the one in the example above. Refer to the documentation if your case is different.
Additional documentation on profile resolvers can be found here.
Additional documentation on the Gmail resolver can be found here.
Reading Profiles from a Google Spreadsheet Associated with a Google Workspace Account
Jancy can read profiles from a Google spreadsheet that your Google workspace account has access to.
- First, you will need to follow all of the steps above on how to set up your Google Workspace Account
- Second, you will need to make sure you selected the
Google Sheet: Read-onlyscope when adding your Google Workspace Account to Jancy
If you previously setup your Google workspace account in Jancy before there was a
Google Sheet: Read-onlyorGoogle Sheet: Read/writescope options, please follow the instructions below that explain how to retroactively add the Google spreadsheet API to your Jancy Google Cloud Workspace project.
- Third, make sure you have the correct Google workspace ID that you made while setting up the account. The screenshot below will show where to find this.
- Fourth, you’ll need the URL of the Google spreadsheet and the name of the sheet you want to read profiles from.

Creating a Google Sheet Profile Provider
- Open the Profile setting panel (
File → Settings → Profiles) - Click the
+ Add a profile providerbutton and select theLoad profiles from a Jancy profile formatted Google Sheetoption. - In the
Load Profiles from a Jancy Profile Formatted Google Sheetdialog that appears:- In the
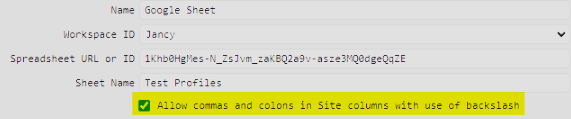
Namefield, give your sheet a custom name - In the
Workspace IDfield, select the correct Google Workspace Account from the dropdown menu - In the
Spreadsheet URL or IDfield, copy and paste the URL of the spreadsheet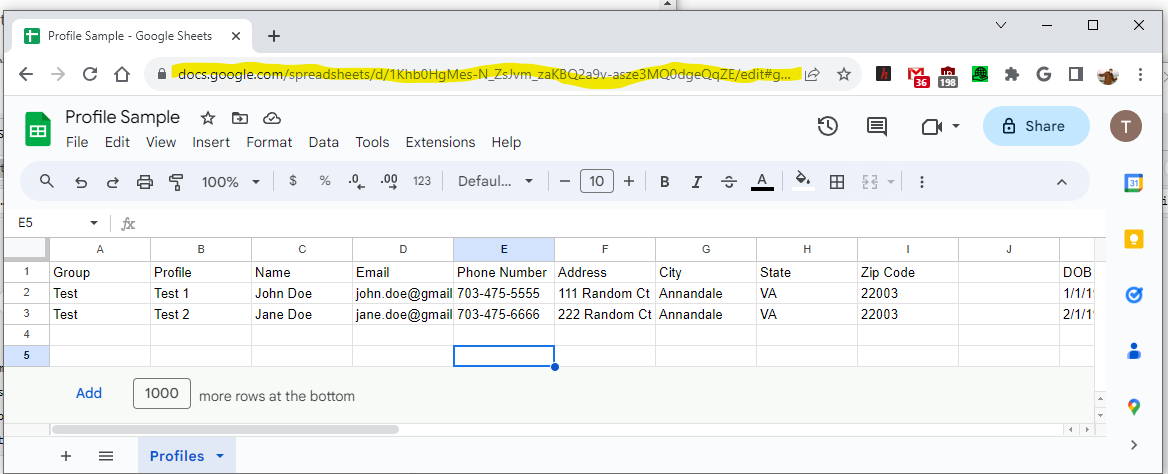
- In the
Sheet Namefield, type the name of the Sheet that contains your profiles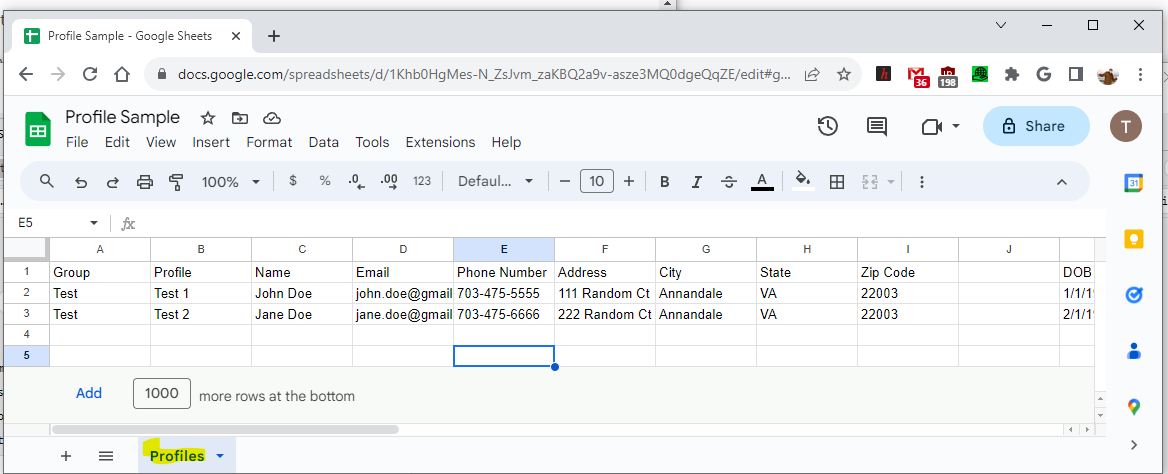
- In the
- If resolvers under site columns contain a comma or a colon, they should be preceded with a backslash and the “Allow comamas and colons in Site columns with use of backslash” feature should be checked.
- Click the
Addbutton
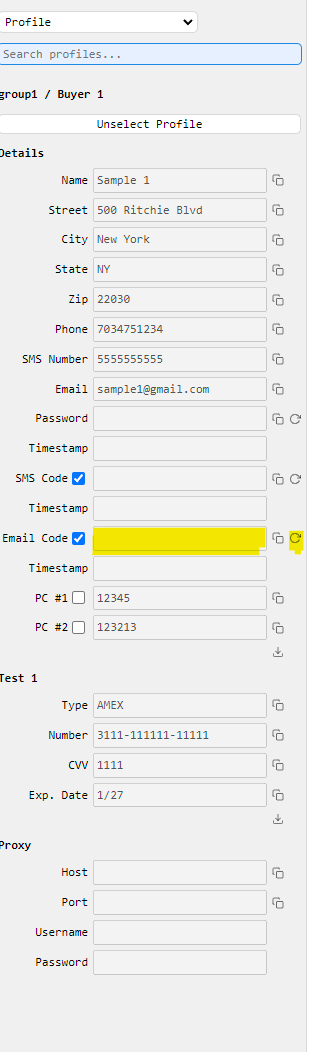
If everything works, you should see a configured profile provider that looks like this: 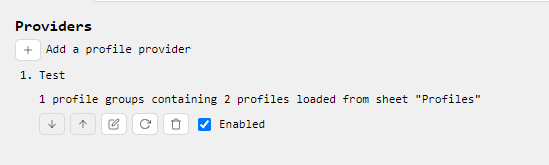
You can add multiple providers for the same spreadsheet with different Sheet Names if you’ve spread your profiles accross different sheets on the same spreadsheet.
The columns and formatting rules that apply to the Google sheets are the same that apply to Jancy formatted CSV files.
Retroactively Adding the Google Spreadsheet API to Your Jancy Google Cloud Workspace Project
-
Go to your Google Cloud Console in your regular browser (not Jancy) by going here https://console.cloud.google.com/welcome
- If you’re logged into more than one Google account, make sure your Workspace account is selected in the Google Cloud Console.
- Click the Dashboard link
- Make sure the Jancy project is selected.
- Click the
Librarymenu option from theAPIs & Servicesmenu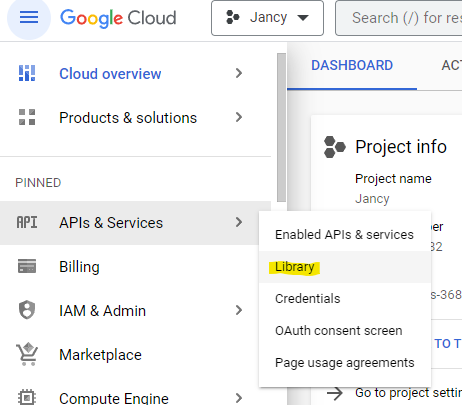
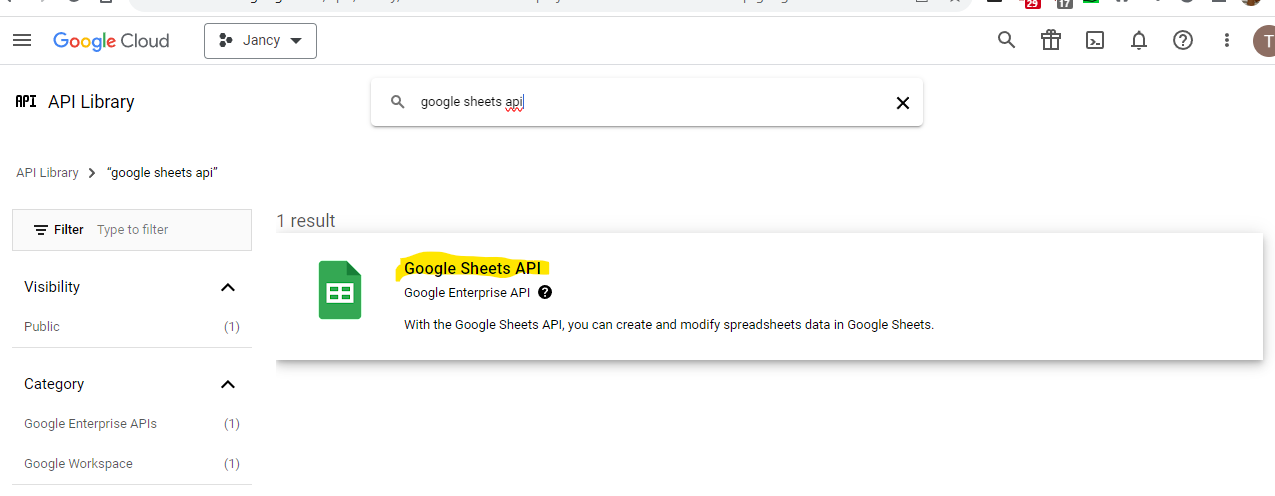
- In the search box type
google sheets apiand select the option presented.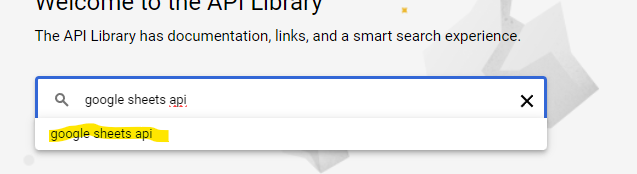
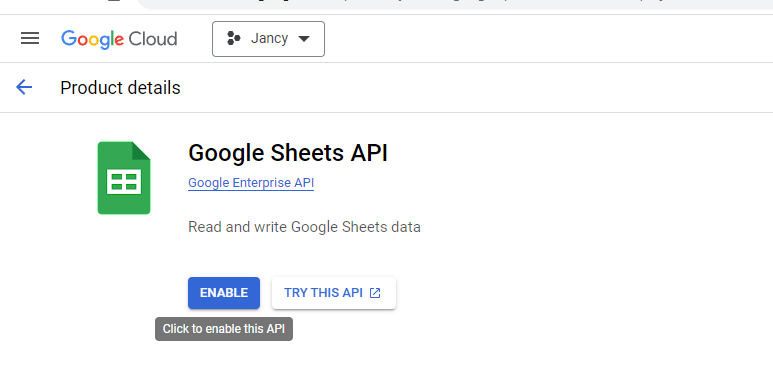
- Click the Google Sheets API search result.
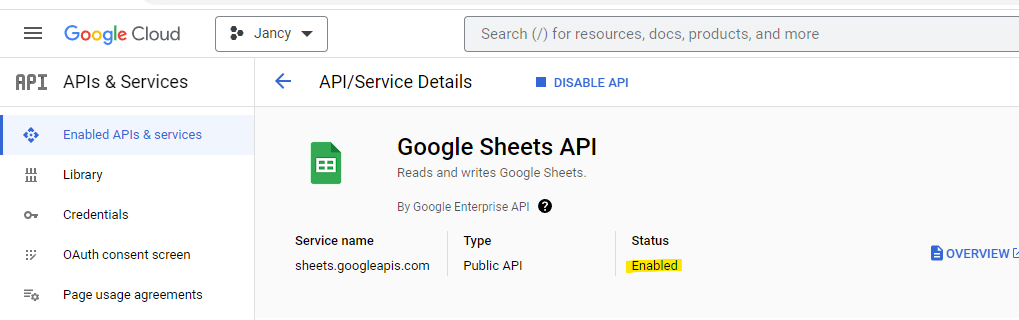
- Click the enable button
- After the API is enabled it should take you to this screen and the Status should read enabled.
- Click the OAuth consent screen menu option from the menu on the left.

- Click the Edit App button next the project name near the top.
- Don’t edit anything on the first page of the Oauth consent screen just press the Save and Continue button at the bottom.
- Click the Add or Remove Scopes button on the Scopes screen of editing the Oauth consent screen.
- In the Update selected scopes dialog that appears from the right, type “Google Sheets API” in the Filter field and select the corresponding search result.
- In the filtered results select the one with the scope of
../auth/spreadsheetsand../auth/spreadsheets.readonly.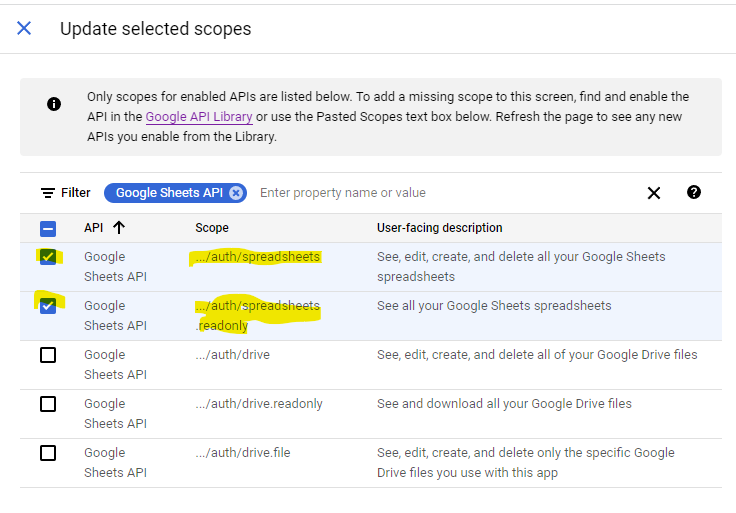
- Click the Update button at the bottom.
- The right hand panel should disappear and back on the Scopes screen you should see the Google Sheets API with read only scope under Your sensitive scopes.
- Click Save and Continue at the bottom of Scopes screen.
- Click the Back to Dashboard on the Summary screen.

- That’s it. You’ve enabled the Google Sheets API and configured your Jancy app to have Google sheet read only and read/write permissions.
You cannot update an existing Google workspace account in Jancy to have the
Google Sheet: read-onlyscope. If you currently have a Google workspace account configured with just theGmail: Read-onlyscope and you’d like it to also have theGoogle Sheet: Read-onlyscope, you need to delete the existing workspace account and re-add it and this time select both theGmail: read-onlyandGoogle Sheet: Read-onlyscopes. Be sure to re-add the workspace account using the same name as the one you used previously so any Gmail profile resolvers still continue to work.Alternatively, instead of deleting and re-adding the same account, you can add another Google workspace account using the same client secret file and give it just the
Google Sheet: Read-onlyscope and use that workspace account exclusively for reading data from spreadsheets.
Using Google Sheets for Namath
You can use your Google Account to record purchases and potential purchases. Unlike discord and slack there is no way to respond back to the user sending for purchase coordination. You will have to communicate with them outside of Namath.
- The first thing you need is a Google Sheets document created and we need the Sheet ID from the URL. It will be a string of characters like
190-tTNPzD60KG92EOLUllQMqB3DEAQkUECfRzAIVnKfand is in the URL like this image:
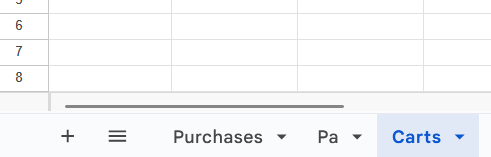
- Then you need to get the name of the sheet at the bottom or name it something meaningful, like “carts” or “purchases” - you can have multiple sheets in this one document, but Namath will only send to one for each Namath provider you create.
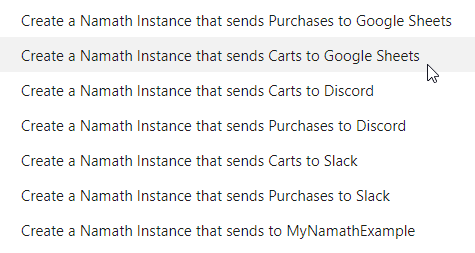
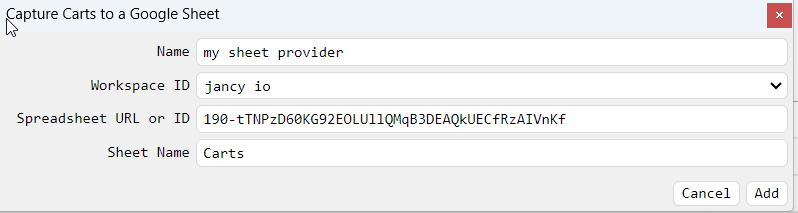
- Then in Jancy start creating a Google Sheet provider for carts or purchases. The fields to fill out are:
- Name - what you want to name it and the label that Namath will use for identifying it
- Workspace ID - a select box to choose the Google account to use
- Spreadsheet URL or ID - the ID from your Google Sheets document URL, or the whole URL
- Sheet Name - the name like “Carts” you gave to the sheet in the document
- Columns dropdown - this can be used to select which columns you want to show in the document
- Once it is showing up in the list of Namath providers you can press the test button. Your sheet should get populated with an entry like the following image:
