Slack
The Slack plug-in gives Jancy the ability to “talk” to one or more Slack servers.
Quick Setup
Walkthrough setup
Go here and follow the guide (but also checkout the new app manifest below to possibly skip a few more steps) https://docs.slack.dev/app-management/quickstart-app-settings:
- a slack bot token prefixed with
xoxb - a slack app-level token with
connections:writescope prefixed withxapp
On the Jancy settings page you can choose Slack from the different sections and input these tokens there.
App Manifest
You may be able to skip a few steps by copying the App Manifest below and pasting it into yours. (You might want to not change the name and display_name)
{
    "display_information": {
        "name": "Ticket Quarterback Bot",
        "description": "An app to allow Quarterbacking with Jancy's Namath",
        "background_color": "#db2feb"
    },
    "features": {
        "app_home": {
            "home_tab_enabled": false,
            "messages_tab_enabled": true,
            "messages_tab_read_only_enabled": true
        },
        "bot_user": {
            "display_name": "Ticket Quarterback Bot",
            "always_online": true
        }
    },
    "oauth_config": {
        "scopes": {
            "user": [
                "groups:read"
            ],
            "bot": [
                "app_mentions:read",
                "channels:history",
                "channels:join",
                "channels:manage",
                "channels:read",
                "chat:write.customize",
                "chat:write.public",
                "chat:write",
                "files:read",
                "files:write",
                "groups:history",
                "groups:read",
                "groups:write",
                "im:history",
                "im:read",
                "im:write",
                "links:read",
                "links:write",
                "mpim:history",
                "mpim:read",
                "mpim:write",
                "pins:read",
                "pins:write",
                "reactions:read",
                "reactions:write",
                "reminders:read",
                "reminders:write",
                "team:read",
                "usergroups:read",
                "usergroups:write",
                "users:read",
                "users:write",
                "users.profile:read"
            ]
        },
        "pkce_enabled": false
    },
    "settings": {
        "event_subscriptions": {
            "bot_events": [
                "app_mention",
                "channel_created",
                "channel_deleted",
                "channel_left",
                "channel_rename",
                "message.groups"
            ]
        },
        "interactivity": {
            "is_enabled": true
        },
        "org_deploy_enabled": false,
        "socket_mode_enabled": true,
        "token_rotation_enabled": false
    }
}
Detailed Setup
- Go here … https://docs.slack.dev/app-management/quickstart-app-settings
- Press
Create appunder “Create a pre-configured app” - In the dialog that appears, select your workspace
- In the “Review summary & create your app”, click Edit Configurations and change
nameunderdisplay_informationtoJancy Bot - Press the Next button
- In the “Welcome to your app’s configuration” press the “Got It” button
- Go to “OAuth & Permissions” section on the lefthand menu
- Then go down to “Scopes” > “Bot Token Scopes”. If there’s not a scope there, then you need to add at least one, but I would err on the side of caution and add all these: channels:join, channels:messages, channels:read, chat:write, chat:write.customize, chat:write.public, files:read, files:write, links:read, links:write, reactions:read, reactions:write, team:read, usergroups:read, usergroups:write, users:read, users:write - these are needed for Jancy to work with Slack correctly
- After those are set the page may reset and you’ll see in the “OAuth Tokens” section both token you’ll need (the one with xoxb- in the beginning)
Quirks
- If you add the bot to a channel in slack you will have to refresh the channels in your Jancy settings. Slack doesn’t provide an event for the bot getting added to channels
- Slack doesn’t list private channels, but see below
Getting a bot slack token for an existing bot
- Go to
Settings & Administration → Manage Apps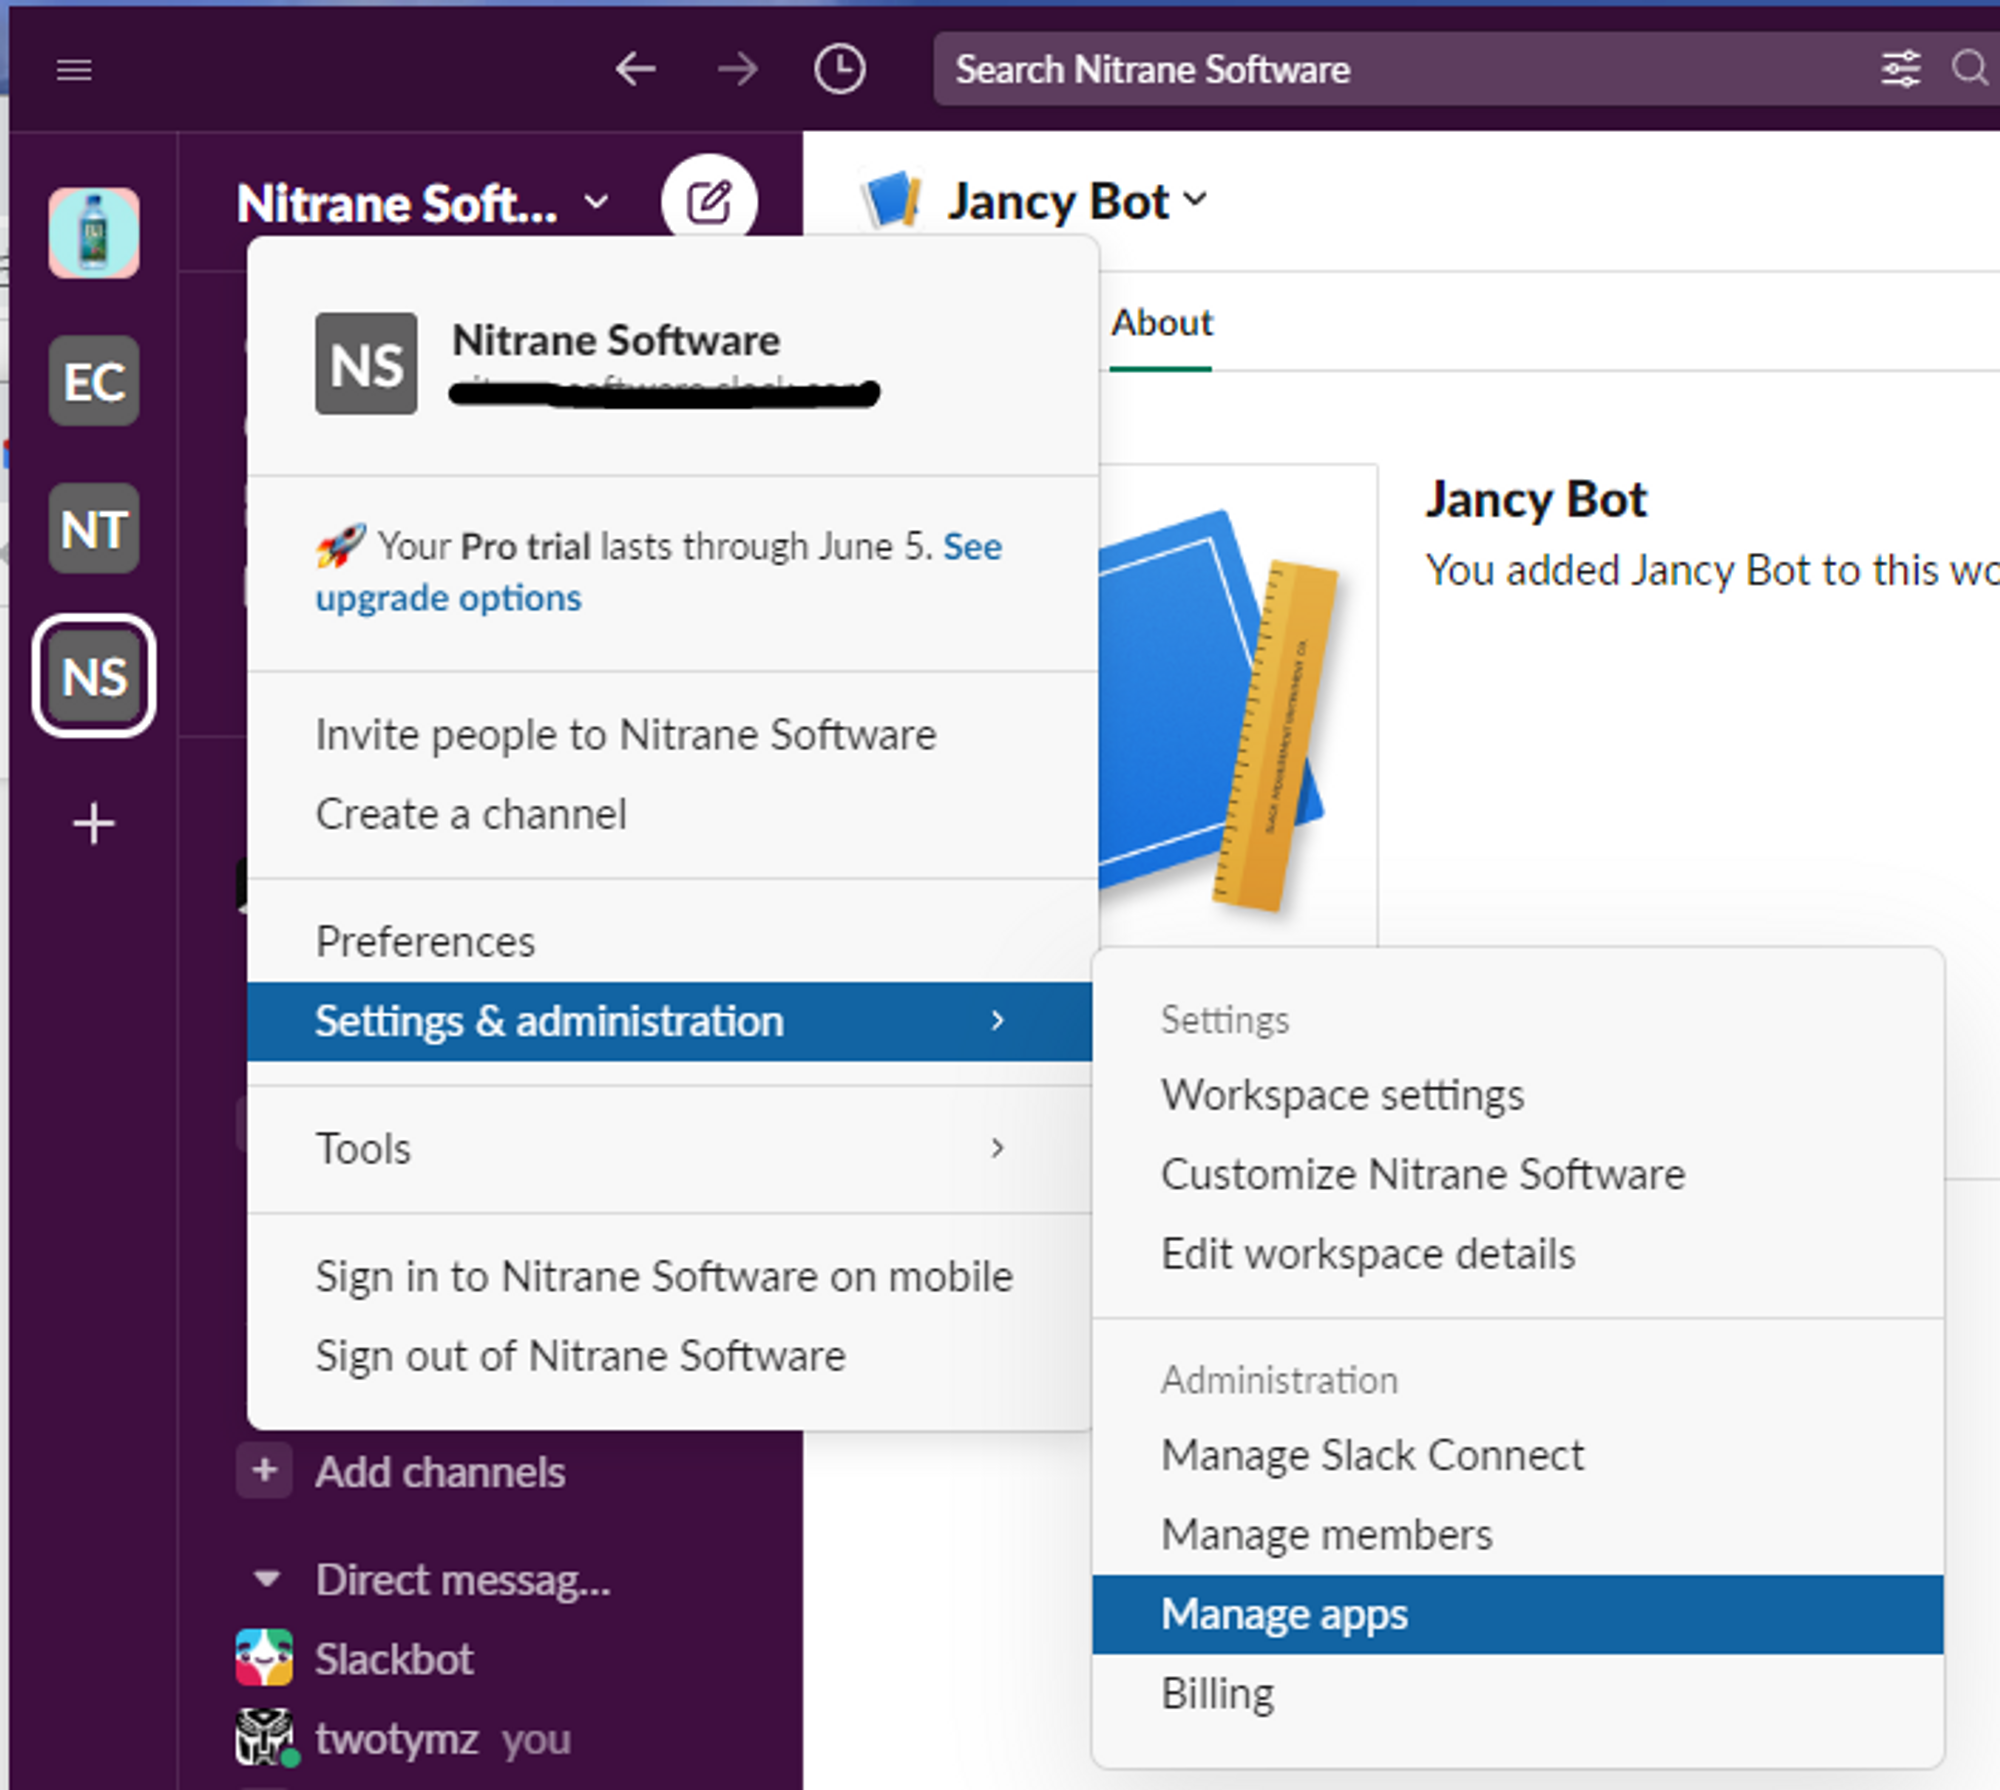
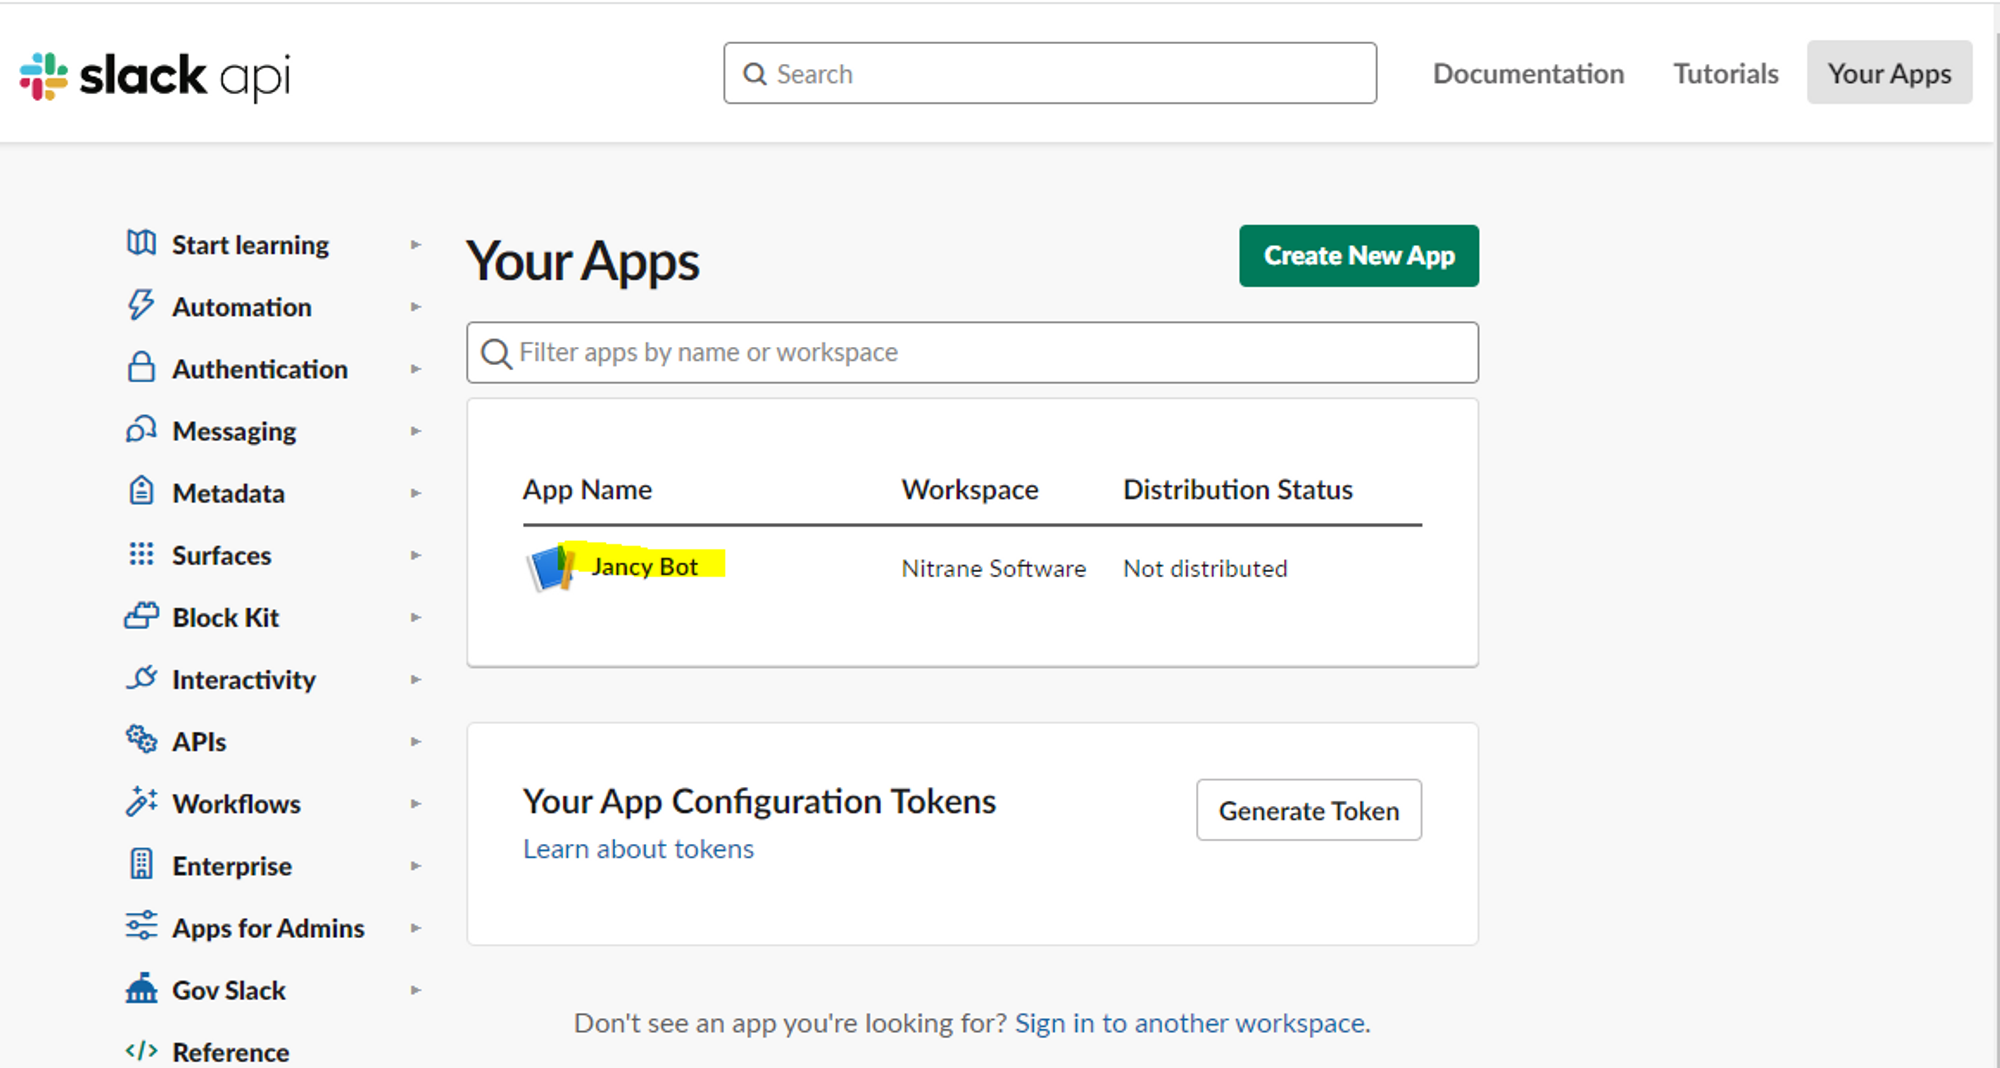
- Click
Buildin the page that opens
- Click the bot you want the token for
- Click
Install App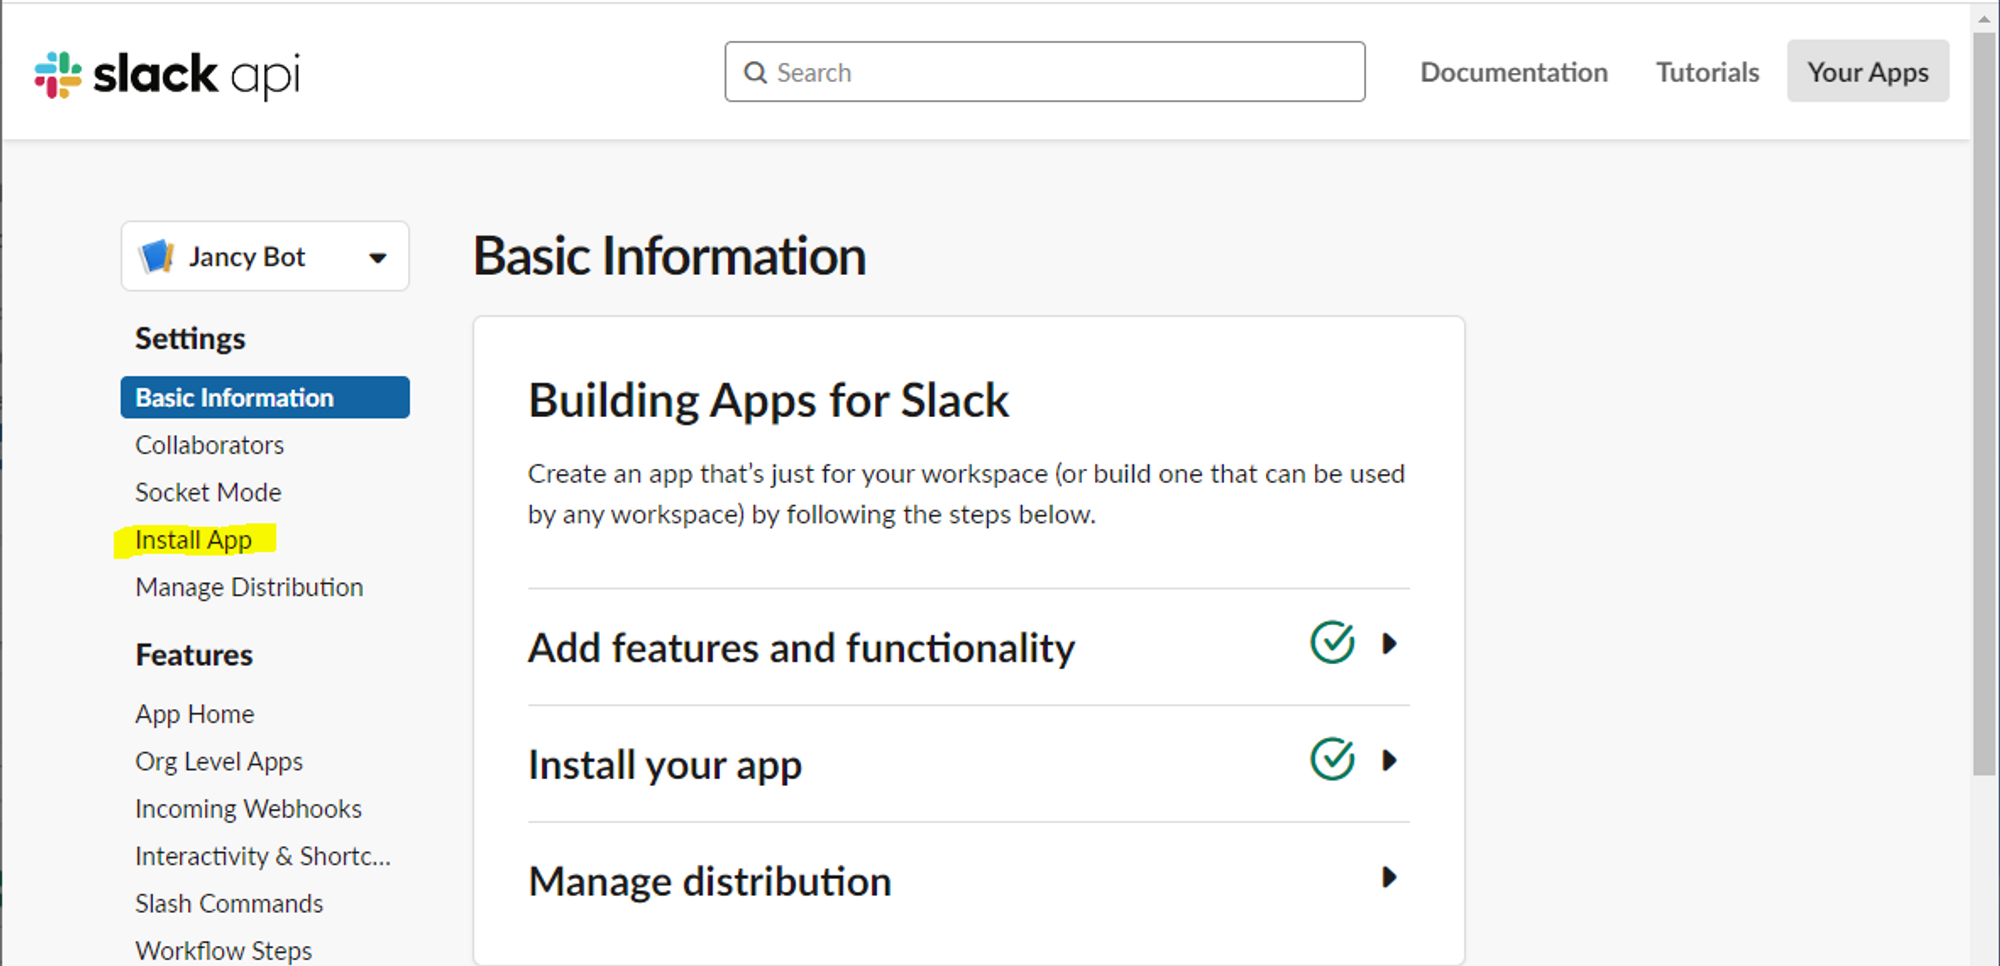
- Copy the token displayed - it starts with
xoxb-
Get App-Level Token
-
Go to the
Basic Informationsetting in the bot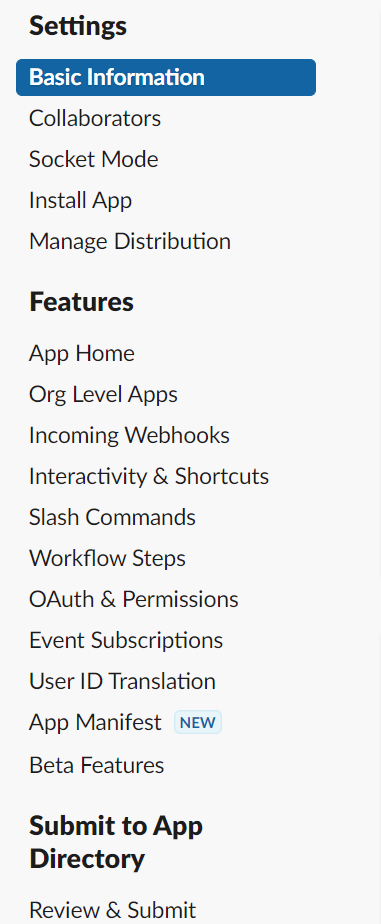
-
Scroll down to the
App-Level Tokenssection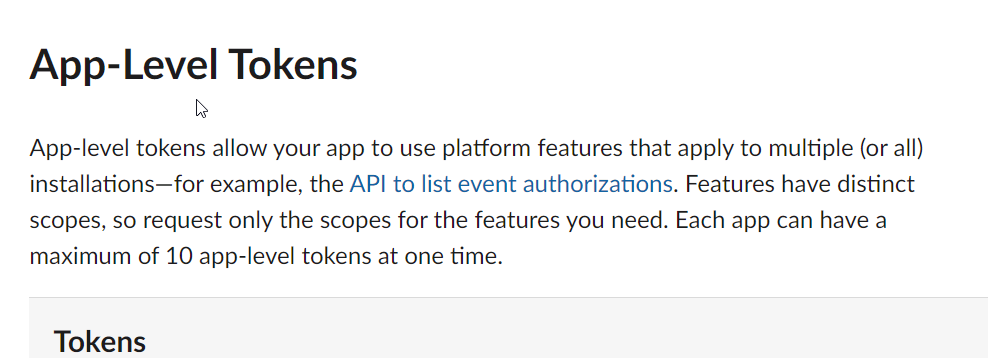
-
Click
Generate Token and Scopesbutton. A dialog will show that looks like the next image - Choose
connections:writeand name the token whatever you like
- Once the previous dialog closes, click on the new entry on the page like highlighted below
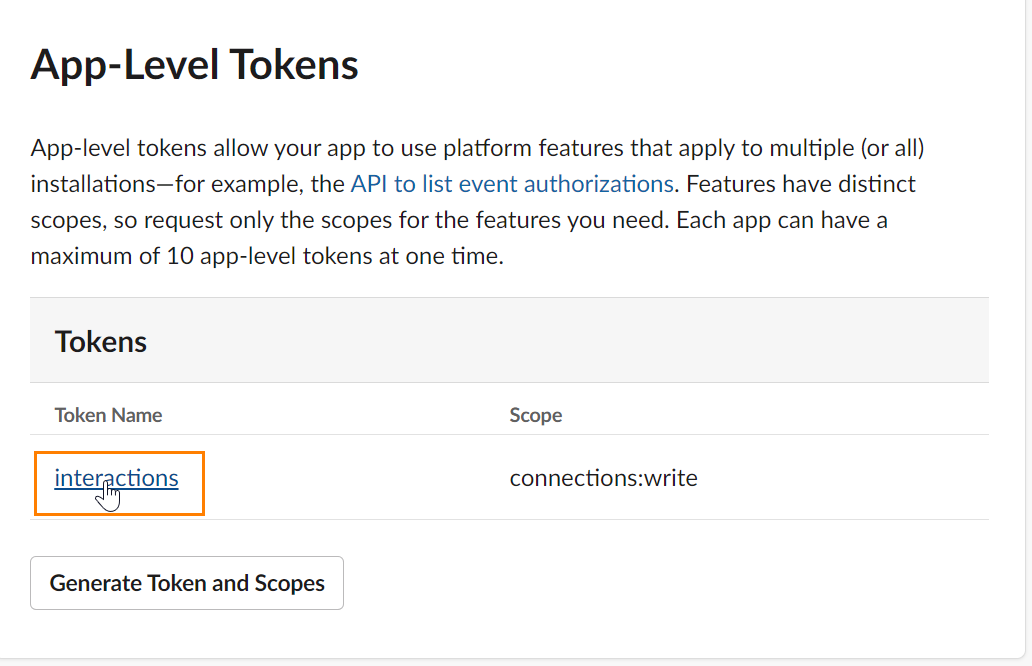
- Copy the token string for later - it starts with
xapp-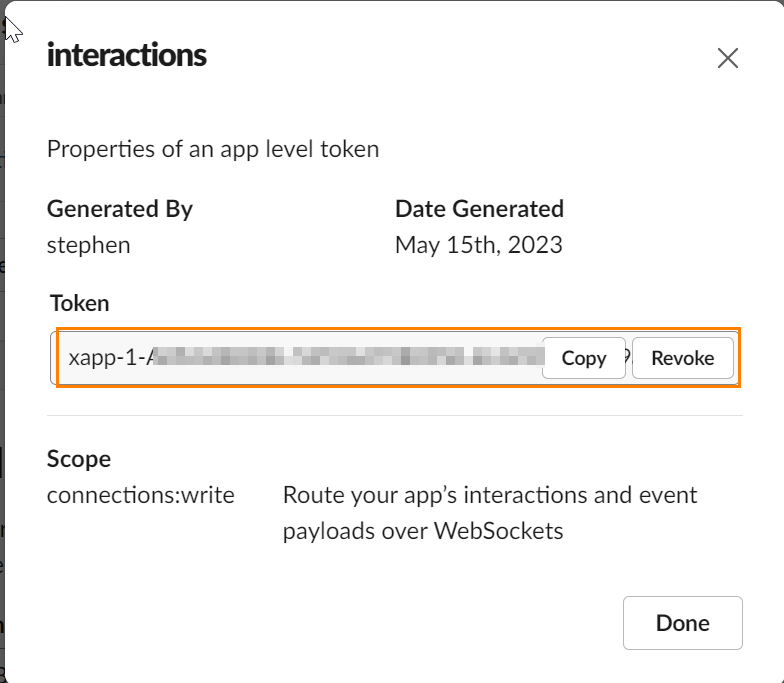
Add bot to channels
You must add bots to channels in slack. To do that follow these steps:
-
In the upper right corner of the slack app you’ll find the button to manage the users, click it:

-
Go to the integrations tab and then press the
Add an Appbutton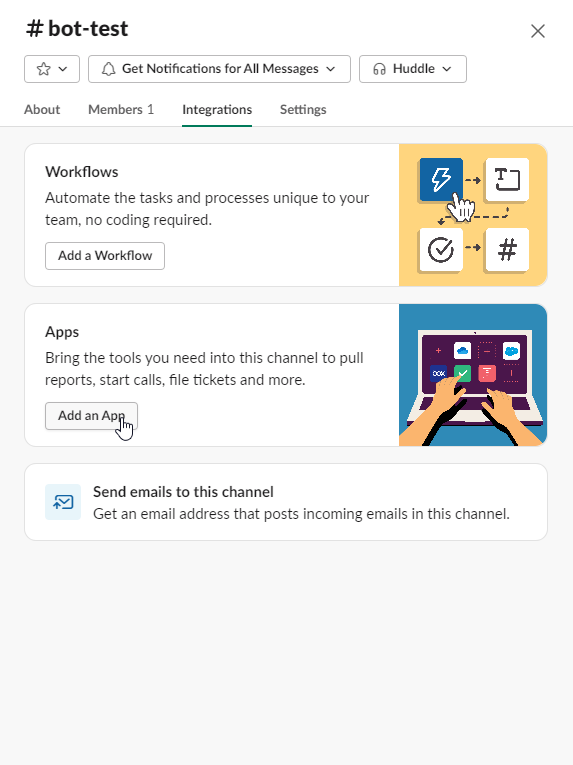
-
Find Jancy Bot in the list and click
Add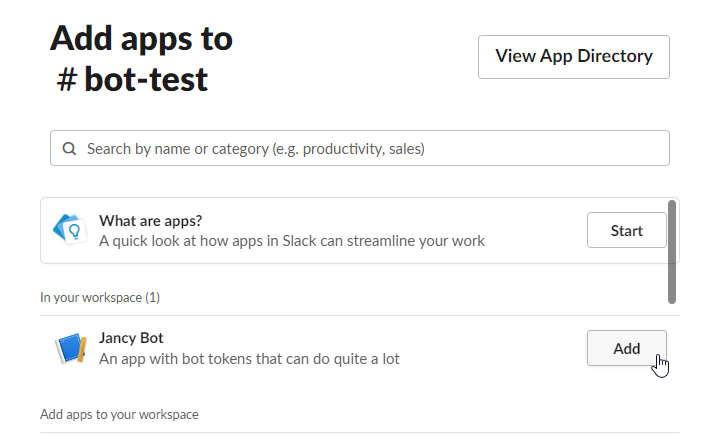
Turn on socket mode
You have to turn on the socket mode so that the app can have interactions - the buttons to respond to the user sending the ticket information.
- On the bot page go to “Settings” > “Socket Mode”
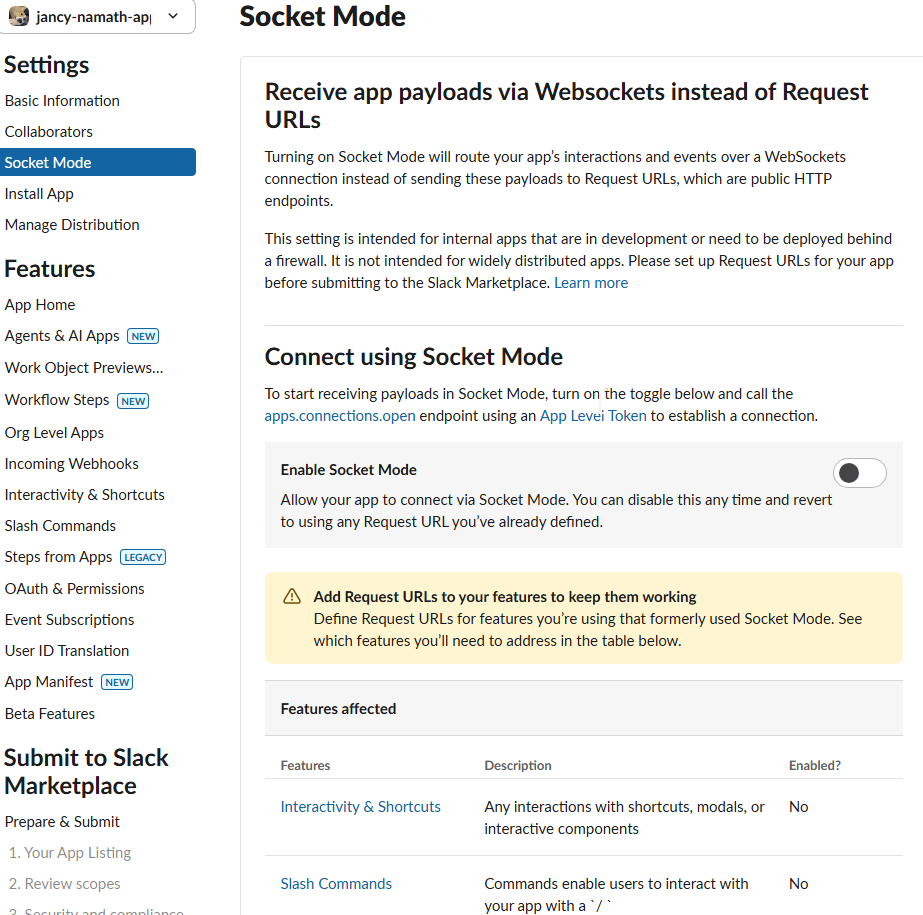
- Then press “Enable Socket Mode”. The
Interactivity & Shortcutswill get turned automatically - leave it on.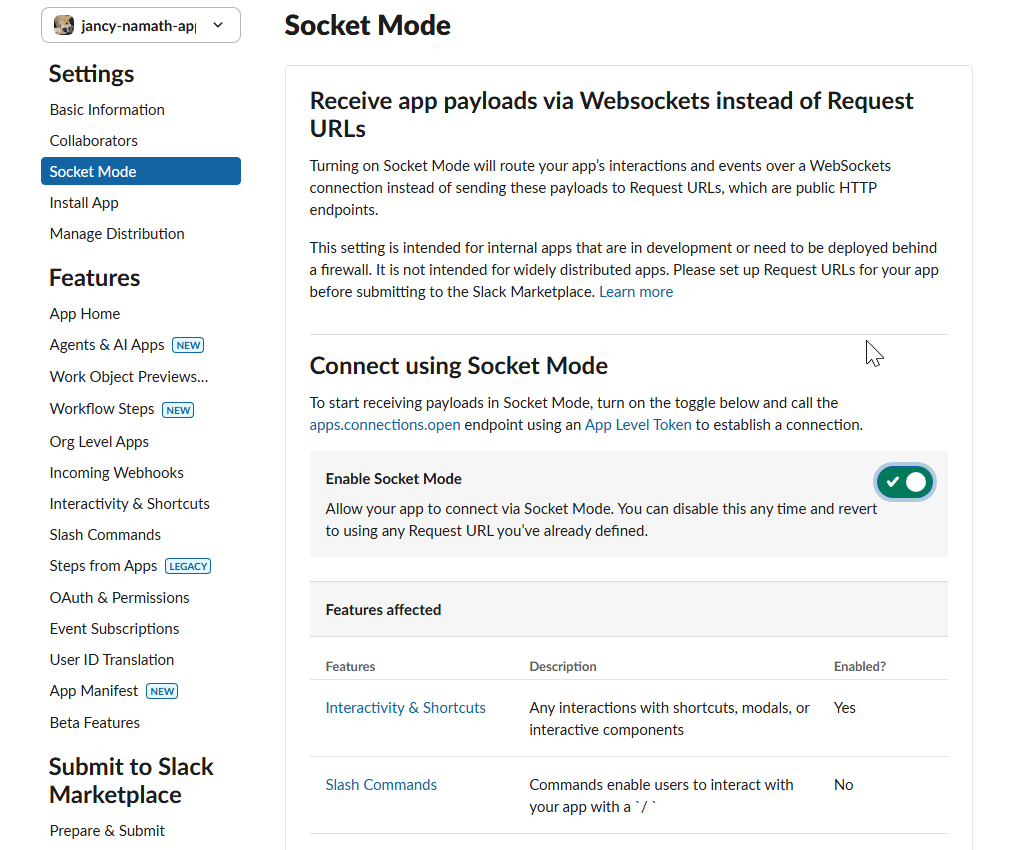
Adding to Jancy
-
Go to jancy settings page and choose the
Slackoption. The page will look like this:
-
Click
Add a Tokenand you’ll see a dialog like this: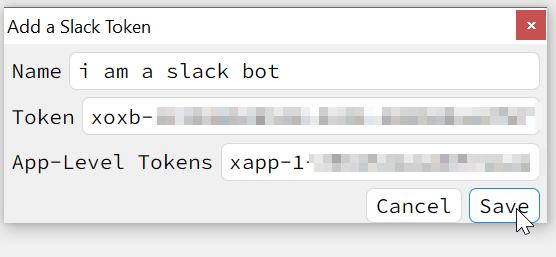
Fill out the information that you’ve gathered above, the fields are:
- Name: you can put anything you want
- Token: the bot token saved earlier - starts with
xoxb- - App Token: the app level token saved earlier - starts with
xapp-
Adding private channels
In slack you cannot list out the private channels like the public ones, even if the bot is invited to the channel. The bot still can send messages to private channels. On the slack settings panel in Jancy you can press the “Add Private Channel” for the specific token.
To get the channel ID you need to go to your slack app. Right click the channel. Choose View Channel Details. Scroll to the bottomw of the window that opens and use the copy button to get the channel ID: 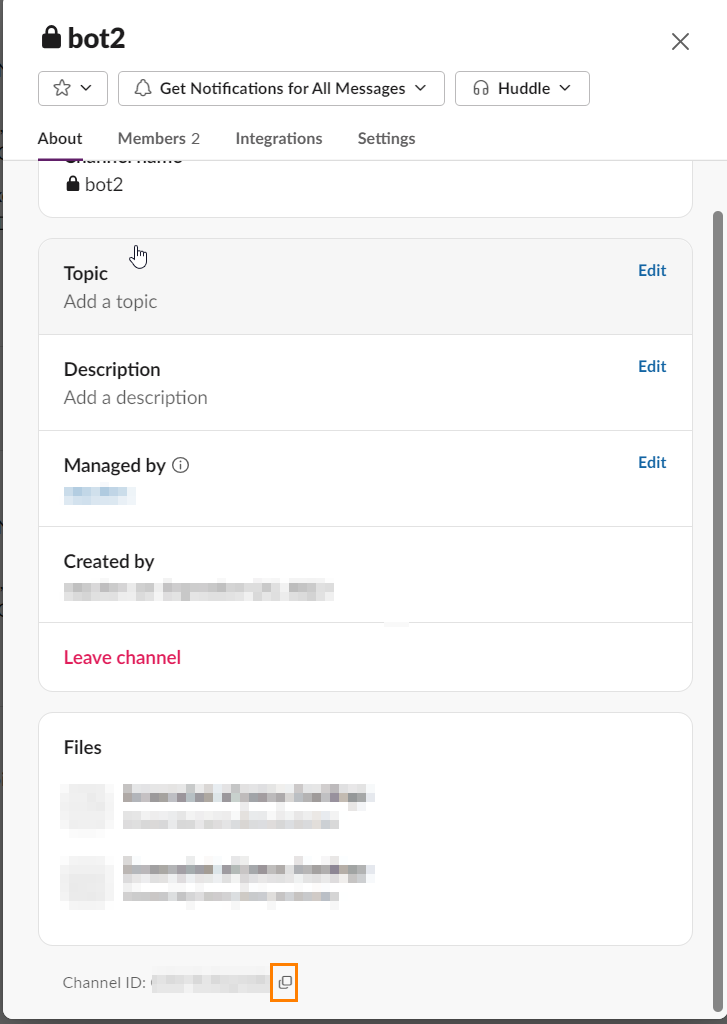
Then add it by pressing the button as shown: 
Then put the channel ID and name of the channel in the inputs
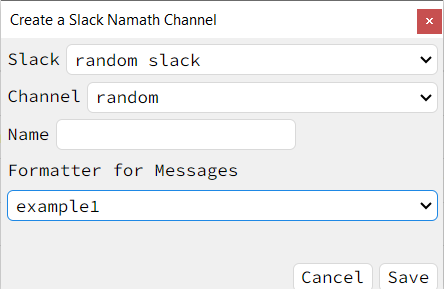
Custom Formats
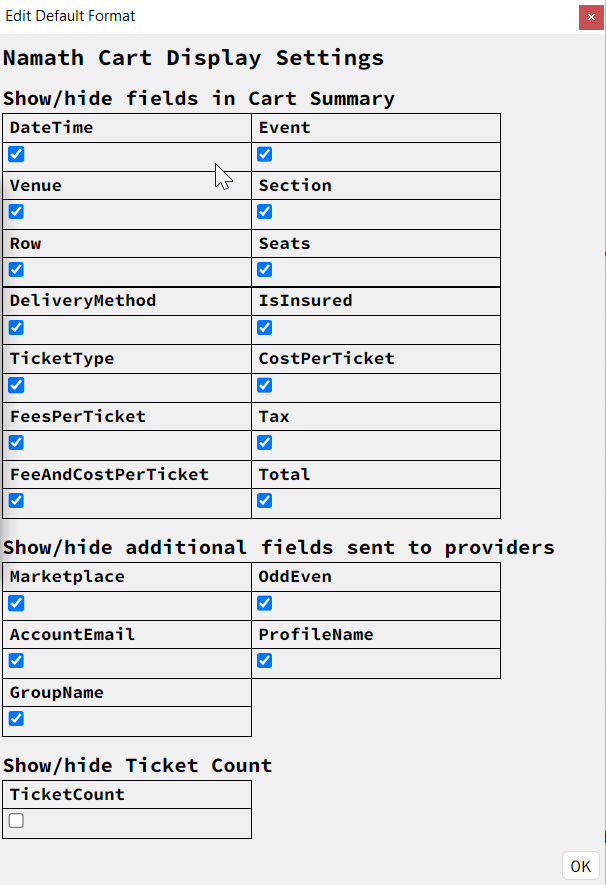
You can now customize the default format on a provider to provider basis. When adding a new Slack provider for Namath you will be able to choose what fields to see.
Click the Edit button
A new window will appear:
Also, you can now create your own custom slack formatter by creating a JYL file. The format looks like:
<jyl>
  <namath-slack-format name="example1">
    console.log(cart)
    let msgBody = 'This is the example1'
    let event = cart.find((c) => c.id==='event')
    const msgDataBlocks = [
      {"type": "header", "text": {"type": "plain_text", "text": `${event.value}`}},
      {"type": "divider"},
      {"type": "section", "text": {"type": "mrkdwn", "text": "Hello"}},
      {"type": "section", "fields": [
        {"type": event.type, "text": `*${event.name}:* ${event.value}`}
      ]
      }
    ]
    return {msgDataBlocks, msgBody}
  </namath-slack-format>
</jyl>
It is provided the follow parameters:
cartis a cart an array of objects that will have the following fields, each field is an object withidandvaluekeys e.g.{id:'uuid', value:'128ksnir'}:uuid- the unique ID of the carttab- information about the tab the cart is fromrow- the rowsection- the sectionseats- the seats in a stringevent- the event namevenue- the venue namequantity- the total number of ticketscurrency- the format of the currency (USD)total- the total cost of the carttax- the tax associated with the cartcostPerTicket- the cost of only the ticket (not including tax and fees)dateTime- the date and time of the event as a formatted stringoddEven- if the seats are odd/evendeliveryMethod- the delivery method of the ticketsisInsured- boolean if insurance is selectedmarketplace- the marketplace the ticket is coming fromfeeAndCostPerTicket- the cost of each ticket including the tax and feesticketType- the type of the ticketfeesPerTicket- the amount of fees per ticketsseatMapURL- the url for the image of the seat map - sometimes this is corrupt and cannot be viewedticketcount_data- data from the ticketcount plugin, may or may not be nulljancyUser- a string representing the user logged into jancyjancyUsername- the name that you can set in the jancy settings to show instead of the jancy account emailquantity- the full amount of tickets in the cartaccountEmail- the email of the user logged into the marketplaceprofileName- the name of the profile in use if anygroupName- the name of the profile groupccType- the type of the cc used in the cart (mastercard, visa)ccNumber- the last 4 digits of the cc used in the carteventURL- the url for the event in TM or AXS
cartObj- this is a simple version of the cart. It has no name or anything associated with it. It is just an object. e.g.cartObj.rowwill give you the rowjancy- (Jancy object)require- the require libraryargs- an object to add fields to that are out of the ordinaryticketGroups- an array of objects that represent a group of tickets, with the following fields:price- object withbasePriceandtaxfieldssection- just the sectionrow- just the rowseats- array of seatssectionRowSeatsRange- a string that has sectionRowSeats with seats in a range119:9:8-10sectionRowSeatsItemized- a string that has sectionRowSeats with seats itemized like119:9:8,9,10
notes- a place for extra information:- can have ticket info from TM checkout page
It must return a Javascript object with msgDataBlocks and msgBody
msgDataBlocks- needs to be formatted how the Slack API specifies here: https://api.slack.com/messaging/composing/layoutsmsgBody- is a string that will be in the message to Slack
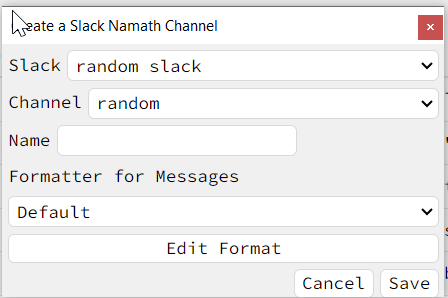
You can choose it when you create a new provider: