Temporary Proxies
This page explains how to create and use temporary proxies in Jancy.
Temporary proxies are only available on the tab they were added to. They remain available until the tab is closed, at which point they are removed.
You can add multiple temporary proxies to the same tab and switch between them as needed.
Adding a Temporary Proxy
-
To add a temporary proxy, right-click the Proxy button and select
Add a temporary proxy...from the context menu.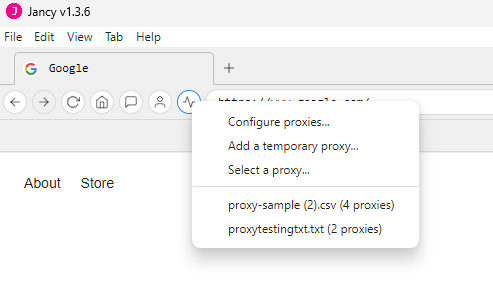
-
This opens the
Add a Temporary Proxydialog, where you can enter the proxy’s host, port, username, and password. After saving the proxy, it will be available for the current tab only.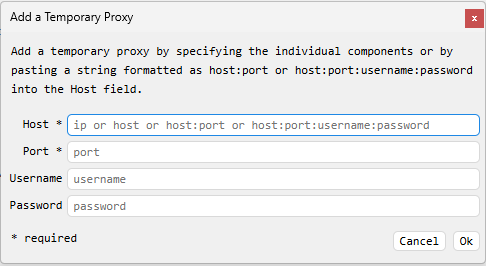
Using Temporary Proxies
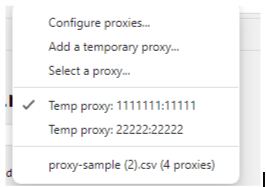
Once a temporary proxy has been added, you can switch between it and any other temporary proxies assigned to the current tab from the Proxy button’s context menu.